1. Punching inspection standards
1
1.2 Anguli acuti non explicite indicati in diagrammis (nisi aliud indicati) omnes R1.5 sunt.
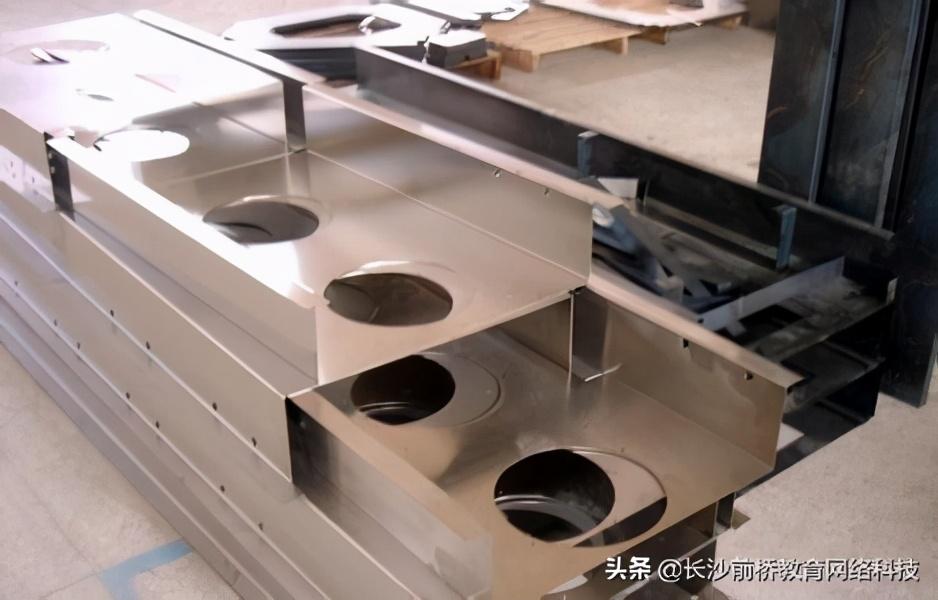
1.3 Burres generated during stamping processing should have no obvious protrusions, indentations, roughness, scratches, rust or other defects on exposed surfaces such as door panels and panels.
1.4 Burra: Post punching, altitudo burra L5% t (t est altitudo plateae).
1.5 Scratches and cultro marks: It is qualified to touch with hands without scratching, and should be 0.1.
2. Bending inspection standards
2.1 Burra: Altitudo turbae extrudentis post bending est L10% t (t est densitate plateae). Ecce aliud specificatum est, angulum rotundum intra fixum R1 est.
2.2 Imprinting: visible creases, but not felt by hand (can be compared to the limit sample). 2.3 Lingua et dimensiones cum drawingibus consistent.
3. Inspection standards for Sheet Metal Processing parts
3.1 Riveting parts
After pressing on components such as rivet nuts (columnas), rivet screws, expansion rivet nuts (columnas), and pull rivet nuts, the threads non formformant (the nuts or screws can freely enter and exit without jamming). The rivet parts should be level with the plate surface et non permittit protrude or sink (the touch should be smooth). The rivet parts should be perpendicular to the plate surface, et nulla deformatione aut pig mouth phenomenum in flut area post presspressionem. Altitudine et pariusque altitudine pull pacis qua altitudine et altitudine quam altitudinis pacis pull pacis uniformum est.et non erit in summo incensum.
4. Welding
4 longitudo et altitudo plagae non excedet 10% longitudinis et altitudinis requirentis.
4.2 Coniuncta sollemnitatis: longitudo coniunctis sollemnitatis 8-12 mm esse, positio coniunctis sollemnitatis simetricalis esse, et positios superioris et inferioris unificabuntur. Si sunt opus speciales ad punctos in drawingibus processoris, sequere drawingibus.
4.3 Spot welding spacing should be less than 50mm, the diameter of the welding points should be less than 5, the welding points should be arranged evenly, the depth of the indentation on the welding points should not exceed 15% of the actual thickness of the plate, and there should be no obvious welding scars left after welding.
4
Postquam ferebatur, superficie exterioris partibus liberi sunt defectus, sicut inclusio, portis, pulveres, pulveres, depressiones, etc. defectus interioris superficie non oportet apparere et non efficiare ecclesiam. Unas importantes partes, such as door panels and panels, should also be subjected to post weld stress to prevent workpiece deformation.
4.6 External surface of welded parts should be ground flat. If it is a powder coated or electroplated part, the roughness after welding should be Ra3.2-6.3, and for painted parts, it should be Ra6.3-12.5.


 English
 Spanish
 Arabic
 French
 Portuguese
 Belarusian
 Japanese
 Russian
 Malay
Malay Icelandic
 Bulgarian
 Azerbaijani
 Estonian
 Irish
Irish Polish
 Persian
 Boolean
 Danish
 German
 Filipino
 Finnish
 Korean
 Dutch
Dutch Galician
 Catalan
 Czech
Czech Croatian
 Latvian
 Romanian
 Maltese
 Macedonian
 Norwegian
 Swedish
 Serbian
 Slovak
 Slovenian
 Swahili
 Thai
Thai Turkish
 Welsh
Welsh Urdu
Urdu Ukrainian
 Greek
Greek Hungarian
 Italian
 Yiddish
 Indonesian
 Vietnamese
 Haitian Creole
 Spanish Basque

