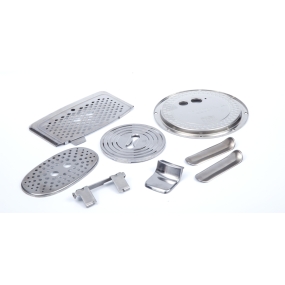
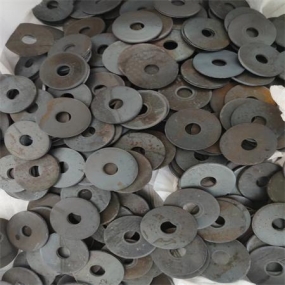
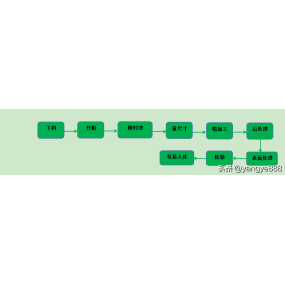
Post non-standard partibus processis, inspectio qualitatis est gradus gravis ut asseguratur quod partes conformentur ad praecepta design et standards utilizae. Sequentes sunt gradus principes et metodes qualitatis inspectionis partium non standard: 1. Appearantia inspectionis Visual: Non partibus standard processuntur per directum observare superficiem partis nudi oculo ut obsecrar manifestas defectus, quales cracks, burbs, oxidation, rust, etc. In minoribus defectibus, potest microscopium magnificationis altum ut inspectionem esse. Colore et Gloss: Examine si colore super superficiem partee uniforme est et si glossitudo conformetur ad quaestionem qualitatem coationis aut superficie tractionis. 2. Selection of Dimensional Measurement Tools: For non-standard parts processing, appropriate measuring tools such as rulers, calipers, vernier calipers, micrometers, height gauges, internal diameter gauges, external diameter gauges, etc. are selected based on the design drawings and dimensional requirements of the parts. measurement accurate: Strictly measure according to the dimensions specified in the design drawings to ensure that key parameters such as length, diameter, aperture, and thickness of the parts meet tolerance requirements. During the measurement process, measurement errors should be eliminated to ensure the accuracy of the measurement results. 3 , Material inspection and analysis: Based on the design requirements of the parts, inspect and analyze the materials of the parts. Common material analysis methods include grinding tests, tensile tests, hardness tests, chemical composition analysis, etc., to determine whether the material's properties meet the requirements. Material certification: The supplier is required to provide a certificate of conformity or quality certificate for the material to ensure its reliable source and quality. 4, Examinatio functionalis testationis performance: Non standard parts are processed and subjected to corresponding performance tests based on the usage environment and functional requirements of the parts. Exemplo, pro partes in equipationibus mechanicis, carga testa, testa vibrationis etc. For electricas components, electrical testing and resistance voltage testing are required. Simulation experimentum: Using experimental equipment and processes to simulate the operation of parts, determine the service life and durability of parts. By simulating the usage environment, test the working performance of parts under different conditions to evaluate their actual effectiveness. 5 , Detailed records and reports: During the quality inspection process of non-standard parts processing, the results and data of each inspection should be recorded in detail, including information on appearance inspection, dimensional measurement, material inspection, and functional testing. Quality report: Prepare a detailed quality inspection report based on recorded data and information. The report should include basic information about the parts, inspection methods, inspection results, existing problems, and improvement suggestions. 6 , Unqualificata identificatione et isolatio: Pro partes quas inspectionem defecerunt, confestim identificati sunt et isolati ut non interficiant improprietatem aut miscantur cum produktis qualificatis. Root cause analysis: Conduce a root cause analysis on non-conforming products, identify the reasons and responsible departments that led to the non-conforming products. Improvement measures: Based on the analysis of the causes, corresponding improvement and corrective measures will be formulated for the processing of non-standard parts to prevent similar problems from happening again.


 English
 Spanish
 Arabic
 Portuguese
 Belarusian
 Japanese
 Russian
 Icelandic
 Bulgarian
 Azerbaijani
 Estonian
 Irish
Irish Polish
 Persian
 Boolean
 Danish
 German
 French
 Filipino
 Finnish
 Korean
 Dutch
Dutch Galician
 Catalan
 Czech
Czech Croatian
 Latvian
 Romanian
 Maltese
 Malay
Malay Macedonian
 Norwegian
 Swedish
 Serbian
 Slovak
 Slovenian
 Swahili
 Thai
Thai Turkish
 Welsh
Welsh Urdu
Urdu Ukrainian
 Greek
Greek Hungarian
 Italian
 Yiddish
 Indonesian
 Vietnamese
 Haitian Creole
 Spanish Basque


