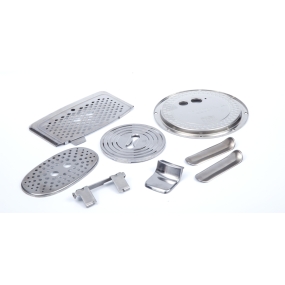
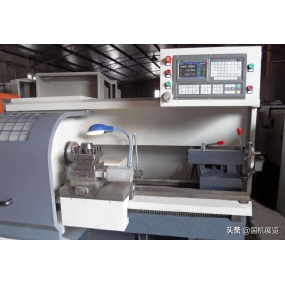
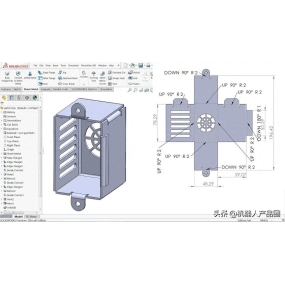
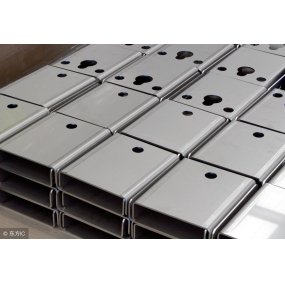
Shenzhen EMAR Precision Technology Co., Ltd. is a well-known manufacturer specializing in the external processing of high-precision CNC machine tools. It has more than 100 types of precision CNC Machining equipment. Today, let's take a look at the operation process guide for CNC machining manufacturers. This is very beneficial for standardizing the operation process and maintenance of CNC machine tools by technical personnel, including production safety, product quality stability, and equipment service life. It is recommended to save it.

1,Post instrumentum machinae actum est, sequentes precautiones accipientur:
1. Postquam instrumentum machinae actum est, primum probabit utrum omnes commutationes et botones normales et flexibiles sunt, utrum sunt situationes abnormales aut sones abnormales in instrumento machinae;
2. Examine si voltatio, pressione olei et gauge aeris in conditione normale sunt. Si manu partibus lubricati sunt, prima lubricatio manu effecta est;
3. Postquam instrumentum machinae actum est, omnis coordinator manum ad referentiam punctum revertetur. Si axis iam est in nullo positio antequam revertetur ad referentiam punctum, movetur in positio 100mm a origine antequam manum revertetur ad referentiam punctum. In hoc positio instrumentum machinae controlletur movere in direction negativa strocis ut revertetur ad referentiam punctum;
4. Cum conversionem rotationis operantibus operantibus operantibus fecerit, certe non habere debris super mensam, protektionem velum aut directam ferrum;
5. Postquam programmam NC inpositum est, curioso legitur et liber esse errore, includit instruktiones, codificationes, valores, adresses, decimalos punctos, signos et syntaxes verificationes;
6. Installa fixturas secundum praeceptas in partitionibus procedentis;
7. Accurately measure and calculate the coordinate system of the workpiece, and verify and verify the results obtained;
8. Introduce systemam coordinatum opus in paginam offset et contemplate coordinatus, valores coordinatus, signos et decimalos;
9. Post inpositionem paginae offset pro valoribus compensation is instrumentorum, sicut longitudo et radius, necesse est observare et verificare numerum compensationis instrumentorum, valorem compensationis, decimal punctum, positivos et negativos signos etc.
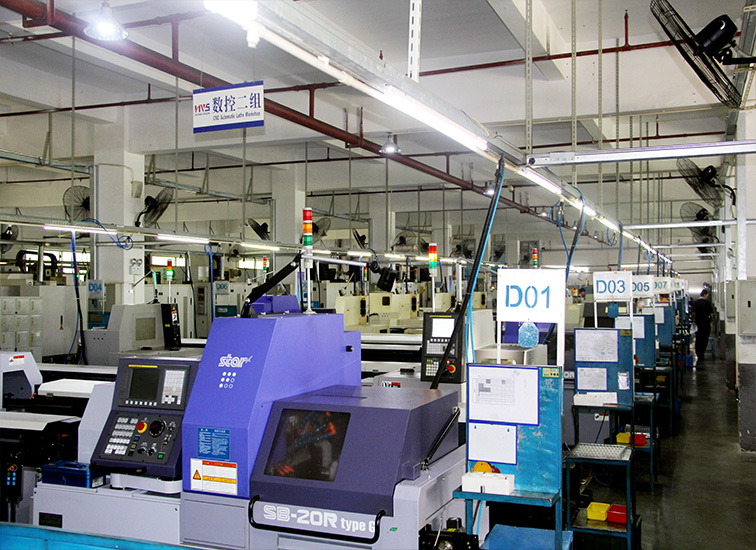
2,During the processing of workpieces, the following precautions should be taken:
1. When performing high-precision workpiece forming processing, a micrometer should be used to detect the tool on the spindle, so that its static runout is controlled within 3um. If necessary, the tool holder system needs to be reinstalled or replaced;
2. Utrum est parte prima aut parte process a periodicam, necesse est ut omnem instrumentum et terminum programmam verificare et verificare secundum requirentes procedurae, programmam et instrumentum adjustationem cartae in drawinge ante processandum. Especialmente pro partes ubi longitudo tres compensationem et dimidiam diametram includiuntur in programma, si necesse est, procedura facietur.
3. Conducentes singulos segmentos probationem cutationem, conversationem metallicum multiplicatorum ad inferiorem gear, ex exemplo;
4. Cum primo tempore illum utilizat, necesse est verificare si longitudo eius vera conformetur ad valorem donatum compensationem;
5. In executione programae gravis est ad observandum constituentem monstrationis in systema CNC;
6. Dispositionem Coordinationis, quæ potest intellegere actum positionem plantationis motion is in systema coordinatorum machinarum et systemam operationis, intellegere quantitatem motionis in hac parte programmae, et quantum reliquum motum est disponibile;
7. Monstratio registrorum et registrorum bufferum tibi permitt videre statum segmenti executionis et etiam contentum sequentis segmenti programmae;
8. Monstratio programmae principis et subroutinis potest aperire continentiam segmenti executoris executoris;
9. Dialogo display screen, which can understand the current spindle running speed of the machine tool, the current spindle cutting feed per revolution, the current cutting feed rate, the current spindle cutting load, and the stroke axis load. The spindle cutting feed per revolution is calculated to determine the cutting amount of the corresponding tool per edge;
10. During the trial cutting process, when the tool reaches a depth of 30 to 50mm on the inner surface of the workpiece, it must be verified that the remaining coordinate values of the coordinate axis are consistent with the X and Y axis coordinate values and the image while maintaining low feed rate;
11. For some special cutting tools that require trial cutting, a progressive approach is adopted to enable the data of the tool radius compensation function to be adjusted from large to small, with each trial cutting and modification.
12. During the trial cutting and machining process, after replacing the tool and auxiliary tools, it is necessary to re-measure the tool length and modify the tool compensation value and tool compensation number;
13. Cum programmas retroverentur, attention accipietur utrum positio cursor is rationale et accusatum est, et utrum coordinates direction gestionis instrumentorum et machinarum rectae observantur;
14. Post modificationem programam necesse est prudente numerare et verificare partes modificatae;
15. Cum manum fermentum et manum fermentum continuum operatur, necesse est verificare si positiones variorum commutationum rectas sunt, clarificere directiones positivas et negativas, clarificere botones et celeritatem satae fermenti et pulsae tempore et postea procedere operationem;
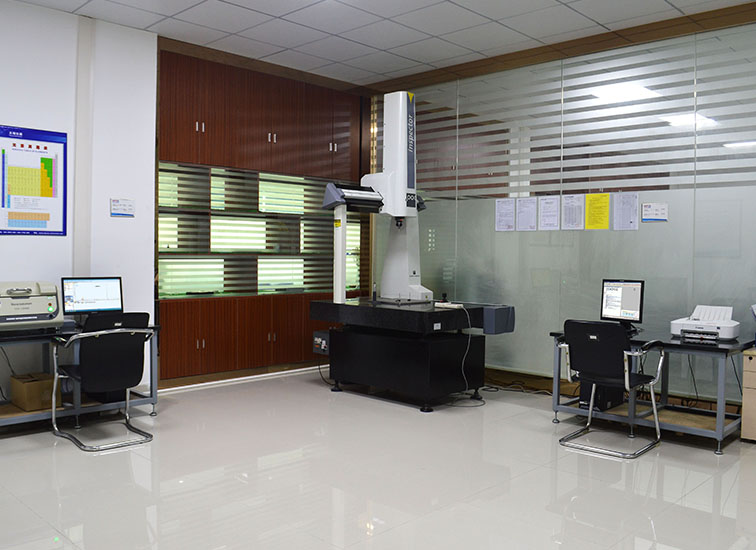
3,Post processionem partes, sequentes precautiones accipient:
1. After the entire batch of parts is processed, the tool number and tool compensation value should be checked to ensure that the tool compensation value and tool number in the program, offset page, adjustment card, and process card are exactly the same. When the tool is reused, it should be re aligned on the tool presetter to effectively reduce the impact of tool wear on the processed parts;
2. Deslucere instrumenta de bibliotheca instrumentorum, munda et numera eas secundum cartam aut programmam adjustationis, et disca, instrumenta, et cartas procedere in consuetudine.
3. Post discargationem fixturas aliquid fixturae registrari sunt pro positio et orientatione installationis et post registrationem archiviari sunt;
4. Stop each coordinate axis at the middle position;
5. Si hoc tempore debes claudere potes, button disconnect a potes in operatio paneli, et tunc exspecta momentum ut permittat oleum refrigendum spindulum in spindulo partem revertere ante automaticam extinguere.
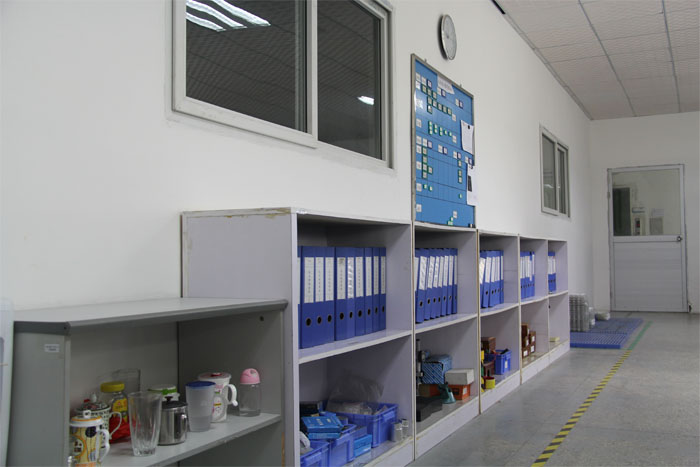
The above is a detailed explanation of the operation process manual for CNC machining manufacturers. We hope it can be helpful to you. Familiarize yourself with and master the operation manual, and strictly follow it to ensure the manual safety of machining operators, as well as the quality of product processing and the service life of machine tools. Therefore, it is necessary to be familiar with and use it well.


 English
 Spanish
 Arabic
 French
 Portuguese
 Belarusian
 Japanese
 Russian
 Malay
Malay Icelandic
 Bulgarian
 Azerbaijani
 Estonian
 Irish
Irish Polish
 Persian
 Boolean
 Danish
 German
 Filipino
 Finnish
 Korean
 Dutch
Dutch Galician
 Catalan
 Czech
Czech Croatian
 Latvian
 Romanian
 Maltese
 Macedonian
 Norwegian
 Swedish
 Serbian
 Slovak
 Slovenian
 Swahili
 Thai
Thai Turkish
 Welsh
Welsh Urdu
Urdu Ukrainian
 Greek
Greek Hungarian
 Italian
 Yiddish
 Indonesian
 Vietnamese
 Haitian Creole
 Spanish Basque


