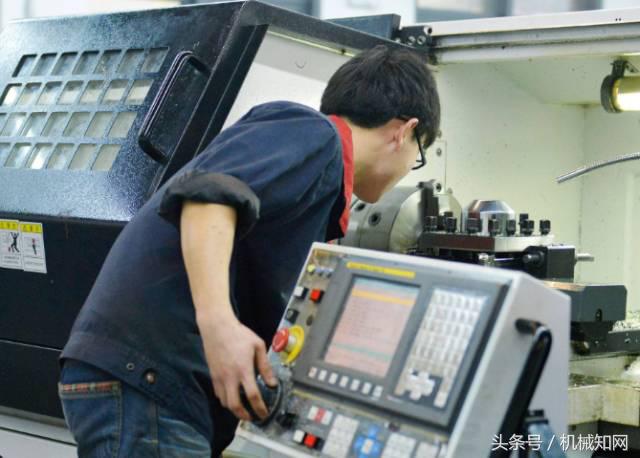
In the blink of an eye, I have been operating a CNC lathe for ten years and have accumulated some machining skills and experience in CNC lathes. I would like to exchange ideas with my colleagues. Due to frequent replacement of machined parts and limited factory conditions, we have been programming, tool checking, debugging, and completing the machining of parts ourselves for the past decade. In summary, our operational skills can be divided into the following points. (Author/Li Neng)
1、 Programming skills: Due to the high precision requirements of our factory for processed products, the following factors need to be considered when programming:
1. Processing sequence of parts:
Drill first and then flatten the end (this is to prevent material shrinkage during drilling);
First rough car, then fine car (this is to ensure the accuracy of the parts);
First process the ones with larger tolerances, and then process the ones with smaller tolerances (this ensures that the surface of the small tolerance size is not scratched and prevents part deformation).
2. Choose a reasonable speed, feed rate, and cutting depth based on the hardness of the material:
1) Choose carbon steel materials with high speed, high feed rate, and large cutting depth. For example: 1Gr11, select S1600, F0.2, and a cutting depth of 2mm;
2) Choose low speed, low feed rate, and small cutting depth for hard alloys. For example: GH4033, select S800, F0.08, and a cutting depth of 0.5mm;
3) Titanium alloy should be selected with low speed, high feed rate, and small cutting depth. For example, for Ti6, select S400, F0.2, and a cutting depth of 0.3mm. Taking the processing of a certain part as an example: the material is K414, which is a very hard material. After multiple tests, it was finally selected as S360, F0.1, and a cutting depth of 0.2 to produce a qualified part.
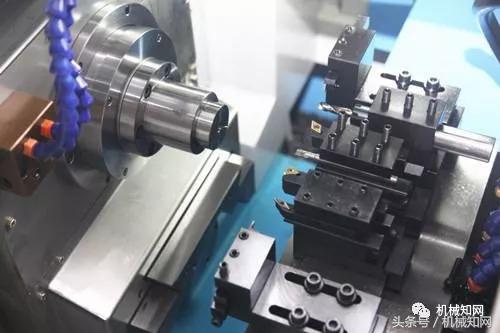
2、 The knife alignment technique is divided into knife alignment instrument and direct knife alignment. Most of the lathes in our factory do not have a tool alignment device and require direct tool alignment. The following tool alignment techniques refer to direct tool alignment.
First, select the center of the right end face of the part as the tool alignment point and set it as the zero point. After the machine tool returns to the origin, each tool that needs to be used is aligned with the center of the right end face of the part as the zero point; When the tool comes into contact with the right end face, input Z0 and click on the measurement button. The tool's compensation value will automatically record the measured value, indicating that the Z-axis is aligned correctly. The X-axis is for trial cutting, and when using the tool to adjust the outer circle of the part, input x20 to measure the outer circle value of the part being adjusted (such as x being 20mm). Click on the measurement button, and the compensation value will automatically record the measured value. At this point, the X-axis is also aligned correctly; This tool alignment method, even if the machine tool is powered off, will not change the alignment value after power on and restart. It is suitable for large-scale and long-term production of the same part, during which the lathe does not need to be re aligned.
3、 Debugging skills: After programming and aligning the tool, the parts need to be tested and debugged. In order to prevent errors in the program and tool alignment, which may cause collision accidents, we should first perform empty stroke simulation machining. In the coordinate system of the machine tool, the tool should be shifted to the right by 2-3 times the total length of the part as a whole; Then start simulating machining. After the simulation machining is completed, confirm that the program and tool alignment are correct, and then start machining the parts. After the first piece of the part is machined, self check and confirm that it is qualified, and then find a dedicated inspector to inspect it. Only after the dedicated inspector confirms that it is qualified can the debugging be completed.
4、 After the first piece of trial cutting is completed, the processed parts need to be mass-produced. However, the qualification of the first piece does not mean that the entire batch of parts will be qualified, because during the processing, different processing materials will cause tool wear. Soft processing materials have less tool wear, while hard processing materials have faster tool wear. Therefore, during the processing, it is necessary to conduct frequent inspections and timely increase or decrease the tool compensation value to ensure the qualification of the parts.
Taking a certain part as an example, the processing material is K414, with a total processing length of 180mm. Due to the extremely hard material, the tool wear is very fast during processing. From the starting point to the end point, a slight deviation of 10-20mm will be generated due to tool wear. Therefore, we must manually add a slight deviation of 10-20mm in the program to ensure the qualification of the part.
In short, the basic principle of processing is to first rough machine, remove excess material from the workpiece, and then precision machine; Vibration should be avoided during processing; There are many reasons to avoid vibration caused by thermal deformation during workpiece processing, which may be due to excessive load; It may be resonance between the machine tool and the workpiece, or insufficient rigidity of the machine tool, or it may be caused by tool passivation. We can reduce vibration by the following methods:; Reduce the lateral feed rate and machining depth, check if the workpiece clamping is secure, increase the tool speed, which can reduce resonance by lowering the speed. Additionally, check if it is necessary to replace the tool with a new one.
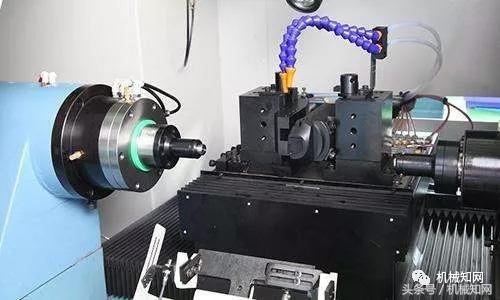
5、 The experience of preventing collisions between machine tools greatly damages the accuracy of machine tools, and the impact varies for different types of machine tools. Generally speaking, it has a greater impact on machine tools with weak rigidity. So for high-precision CNC lathes, collisions must be absolutely eliminated. As long as the operator is careful and masters certain anti-collision methods, collisions can be completely prevented and avoided.
The main reason for collisions:
One is the input error of the diameter and length of the cutting tool;
Secondly, there are errors in inputting the dimensions and other related geometric dimensions of the workpiece, as well as errors in the initial positioning of the workpiece;
Thirdly, the workpiece coordinate system of the machine tool is set incorrectly, or the zero point of the machine tool is reset during the machining process, resulting in changes. Machine tool collisions mostly occur during the rapid movement of the machine tool, and the hazards of such collisions are also the greatest, which should be absolutely avoided.
So operators should pay special attention to the initial stage of program execution and tool replacement. If the program is edited incorrectly or the diameter and length of the tool are entered incorrectly, collisions are likely to occur. At the end stage of the program, if the sequence of the CNC axis's retraction action is incorrect, collisions may also occur.
In order to avoid the above-mentioned collisions, the operator should fully utilize the functions of their facial features when operating the machine tool, observe whether there are any abnormal movements, sparks, noise, abnormal sounds, vibrations, or burnt odors. If any abnormal situation is found, the program should be stopped immediately. The machine tool can only continue to work after the bed problem is resolved.
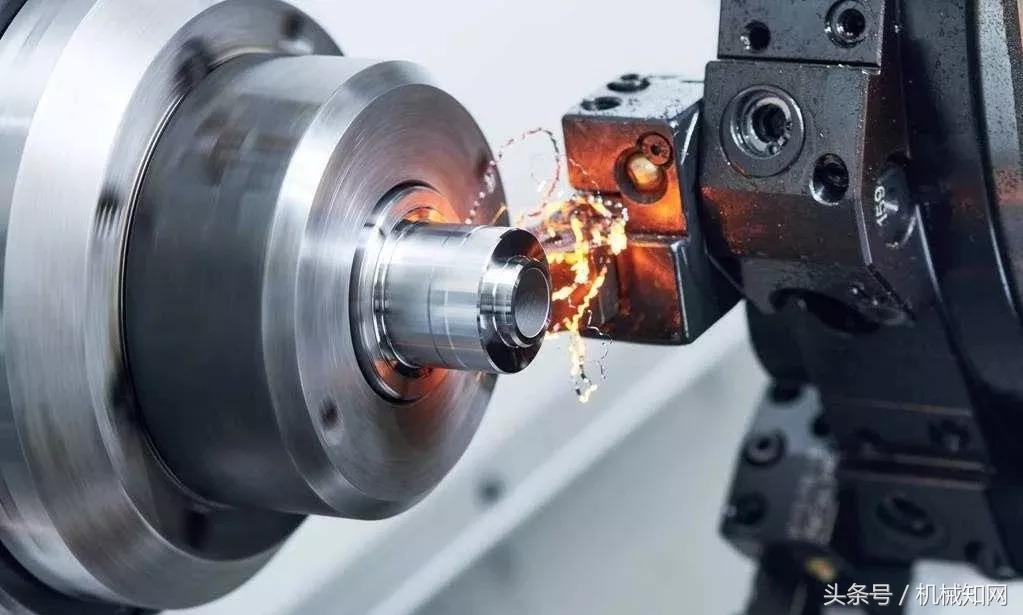
In short, mastering the operation skills of CNC machine tools is a gradual process and cannot be achieved overnight. It is based on mastering the basic operation of machine tools, fundamental knowledge of mechanical processing, and basic programming knowledge. The operation skills of CNC machine tools are not fixed, they require the operator to fully utilize their imagination and hands-on ability in an organic combination, which is an innovative labor.


 Spanish
 Arabic
 French
 Portuguese
 Belarusian
 Japanese
 Russian
 Malay
Malay Icelandic
 Bulgarian
 Azerbaijani
 Estonian
 Irish
Irish Polish
 Persian
 Boolean
 Danish
 German
 Filipino
 Finnish
 Korean
 Dutch
Dutch Galician
 Catalan
 Czech
Czech Croatian
 Latin
Latin Latvian
 Romanian
 Maltese
 Macedonian
 Norwegian
 Swedish
 Serbian
 Slovak
 Slovenian
 Swahili
 Thai
Thai Turkish
 Welsh
Welsh Urdu
Urdu Ukrainian
 Greek
Greek Hungarian
 Italian
 Yiddish
 Indonesian
 Vietnamese
 Haitian Creole
 Spanish Basque

