The editor will organize many practical knowledge methods and hot news for everyone. Please pay more attention and there will be better content presented to you
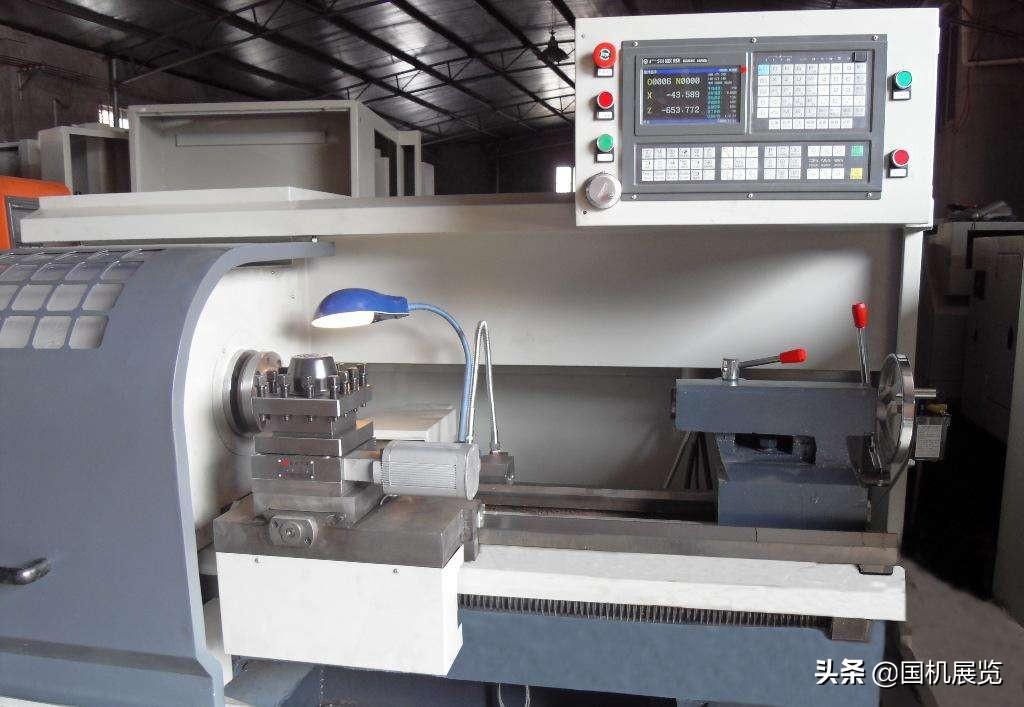
On a CNC lathe, four standard threads can be machined: metric, inch, modulus, and radial. Regardless of which type of thread is machined, a strict motion relationship must be maintained between the lathe spindle and the tool: that is, for every rotation of the spindle (i.e., one rotation of the workpiece), the tool should move uniformly by one lead distance (of the workpiece). By analyzing ordinary threads, we aim to enhance our understanding of them in order to better process them.
1、 Dimensional analysis of ordinary threads
The machining of ordinary threads by CNC lathes requires a series of dimensions, and the size calculation and analysis required for ordinary thread machining mainly include the following two aspects:
1. Diameter of workpiece before threading processing
Considering the expansion of the thread profile during thread machining, the diameter of the workpiece before thread machining is d/d-0.1p, which is the reduction of the thread pitch by 0.1 from the larger diameter of the thread. Generally, based on the material's deformation ability, the smaller diameter is taken as 0.1 to 0.5 compared to the larger diameter of the thread.
2. Thread machining feed rate
The amount of thread insertion can refer to the bottom diameter of the thread, which is the final cutting position of the thread cutter.
The thread diameter is: large diameter -2 times tooth height; Tooth height=0.54p (p is pitch)
The feed rate for thread machining should be continuously reduced, and the specific feed rate should be selected based on the tool and working material.
2、 Assembly and alignment of ordinary thread cutting tools
If the cutting tool is installed too high or too low or too high, when the cutting reaches a certain depth, the back face of the cutting tool will press against the workpiece, increasing friction and even bending the workpiece, causing the phenomenon of biting the tool; If the chip is too low, it is difficult to discharge the chips. The direction of the radial force of the turning tool is at the center of the workpiece. In addition, the clearance between the transverse screw and the nut is too large, causing the cutting depth to automatically increase, thereby lifting the workpiece and causing tool biting. At this point, the height of the turning tool should be adjusted in a timely manner to ensure that its tip is at the same height as the axis of the workpiece (the tool can be aligned with the tip of the tailstock). During rough and semi precision machining, the position of the tool tip is about 1% d higher than the center of the workpiece (d represents the diameter of the workpiece being machined).
The workpiece cannot be firmly clamped, and its rigidity cannot withstand the cutting force during turning, resulting in excessive deflection and changing the center height between the cutting tool and the workpiece (the workpiece is raised), causing a sudden increase in cutting depth and tool biting. At this time, the workpiece should be firmly clamped, and tailstock tips can be used to increase the rigidity of the workpiece.
The methods for aligning ordinary threads include trial cutting and automatic alignment with a tool alignment device. The tool can be directly used for trial cutting alignment, or the workpiece zero point can be set with the G50 and the workpiece zero point can be set with the workpiece movement for alignment. The requirements for tool alignment in thread machining are not very high, especially in the z-direction where there are no strict restrictions on tool alignment, which can be determined according to programming machining requirements.
3、 Programming and machining of ordinary threads
In current CNC lathes, there are generally three machining methods for thread cutting: g32 straight cutting method, g92 straight cutting method, and g76 oblique cutting method. Due to different cutting methods and programming methods, machining errors are also different. We need to carefully analyze our operations and strive to produce high-precision parts.
1. The G32 direct cutting method has a high cutting force and difficulty in cutting due to the simultaneous operation of both cutting edges. Therefore, both cutting edges are prone to wear during cutting. When cutting threads with larger pitch, due to the larger cutting depth, the blade wear is faster, resulting in errors in the pitch diameter of the thread; However, its machining accuracy is relatively high, so it is generally used for small pitch thread machining. Due to its tool movement and cutting being completed through programming, the machining program is relatively long; Due to the easy wear of the blade, it is necessary to measure frequently during processing.
2. The g92 direct cutting method simplifies programming and improves efficiency compared to the g32 instruction.
3. The G76 oblique cutting method, due to its single-sided edge machining, is prone to damage and wear of the machining blade, resulting in uneven threaded surfaces and changes in the tool tip angle, leading to poor tooth profile accuracy. However, due to its single-sided blade operation, the tool load is relatively small, chip removal is easy, and the cutting depth is decreasing. Therefore, this processing method is generally suitable for machining large pitch threads. Due to its easy chip removal and good blade processing conditions, this machining method is more convenient in situations where high thread accuracy is not required. When processing high-precision threads, two cutting can be used to complete the machining, first using the G76 machining method for rough turning, and then using the G32 machining method for fine turning. However, it is important to note that the starting point of the cutting tool should be accurate, otherwise it is easy to make mistakes and cause the parts to be scrapped.
4. After the completion of thread processing, the quality of the thread can be judged by observing the thread profile and taking timely measures. When the thread crest is not pointed, increasing the cutting amount of the knife will actually increase the diameter of the thread, which depends on the plasticity of the material. When the crest has been sharpened, increasing the cutting amount of the knife will proportionally reduce the diameter. Based on this characteristic, the cutting amount of the thread should be treated correctly to prevent scrap.
4、 Inspection of ordinary threads
For general standard threads, thread ring gauges or plug gauges are used for measurement. When measuring external threads, if the thread; Passing through the end "; The ring gauge is precisely rotating in, and; End to End "; If the ring gauge cannot be screwed in, it indicates that the processed thread meets the requirements, otherwise it is unqualified. When measuring internal threads, use a thread plug gauge and measure using the same method. In addition to measuring with thread ring gauges or plug gauges, other measuring tools can also be used for measurement. Use a thread micrometer to measure the thread pitch diameter, use a tooth thickness vernier caliper to measure the trapezoidal thread pitch diameter, tooth thickness, and worm gear pitch diameter, and use a measuring needle to measure the thread pitch diameter according to the three needle measurement method.


 Spanish
 Arabic
 Spanish Basque
 Portuguese
 Belarusian
 Japanese
 Russian
 Icelandic
 Bulgarian
 Azerbaijani
 Estonian
 Irish
Irish Polish
 Persian
 Boolean
 Danish
 German
 French
 Filipino
 Finnish
 Korean
 Dutch
Dutch Galician
 Catalan
 Czech
Czech Croatian
 Latin
Latin Latvian
 Romanian
 Maltese
 Malay
Malay Macedonian
 Norwegian
 Swedish
 Serbian
 Slovak
 Slovenian
 Swahili
 Thai
Thai Turkish
 Welsh
Welsh Urdu
Urdu Ukrainian
 Greek
Greek Hungarian
 Italian
 Yiddish
 Indonesian
 Vietnamese
 简体中文
简体中文 Haitian Creole

