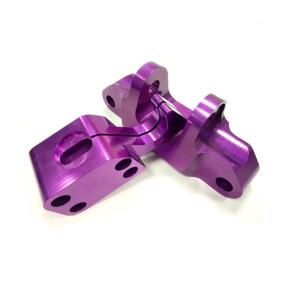
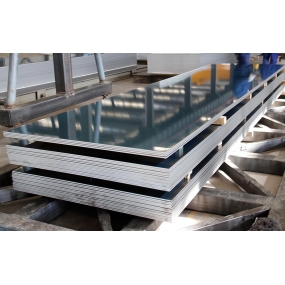
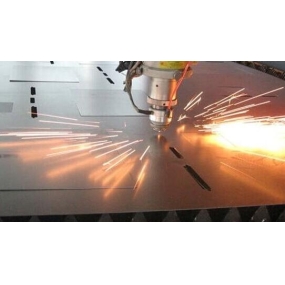
Many of our aluminum profiles require post-processing after extrusion production because they need to be assembled for special use scenarios. Some assembly precision is very high, so it is necessary to reduce the amount of processing deformation. There are many reasons for the deformation of aluminum alloy profiles during precision processing, which are related to materials, part shapes, production and manufacturing standards, etc. There are mainly multiple levels of deformation: deformation caused by thermal stress on the embryo, deformation caused by cutting force and cutting heat, and deformation caused by clamping force.
Processing technology countermeasures to reduce processing deformation
1. Reduce the thermal stress of the billet
Using natural or artificial aging and vibration solutions can partially remove the thermal stress of the blank. Pre processing is also a practical and feasible processing technique. For rough and coarse rough rough hair blanks, due to their large capacity, there is also significant deformation after processing. If the unnecessary parts of the blank are processed in advance and the capacity of each part is reduced, it can not only reduce the processing deformation of the subsequent process flow, but also release some thermal stress after being processed in advance and left for a period of time.
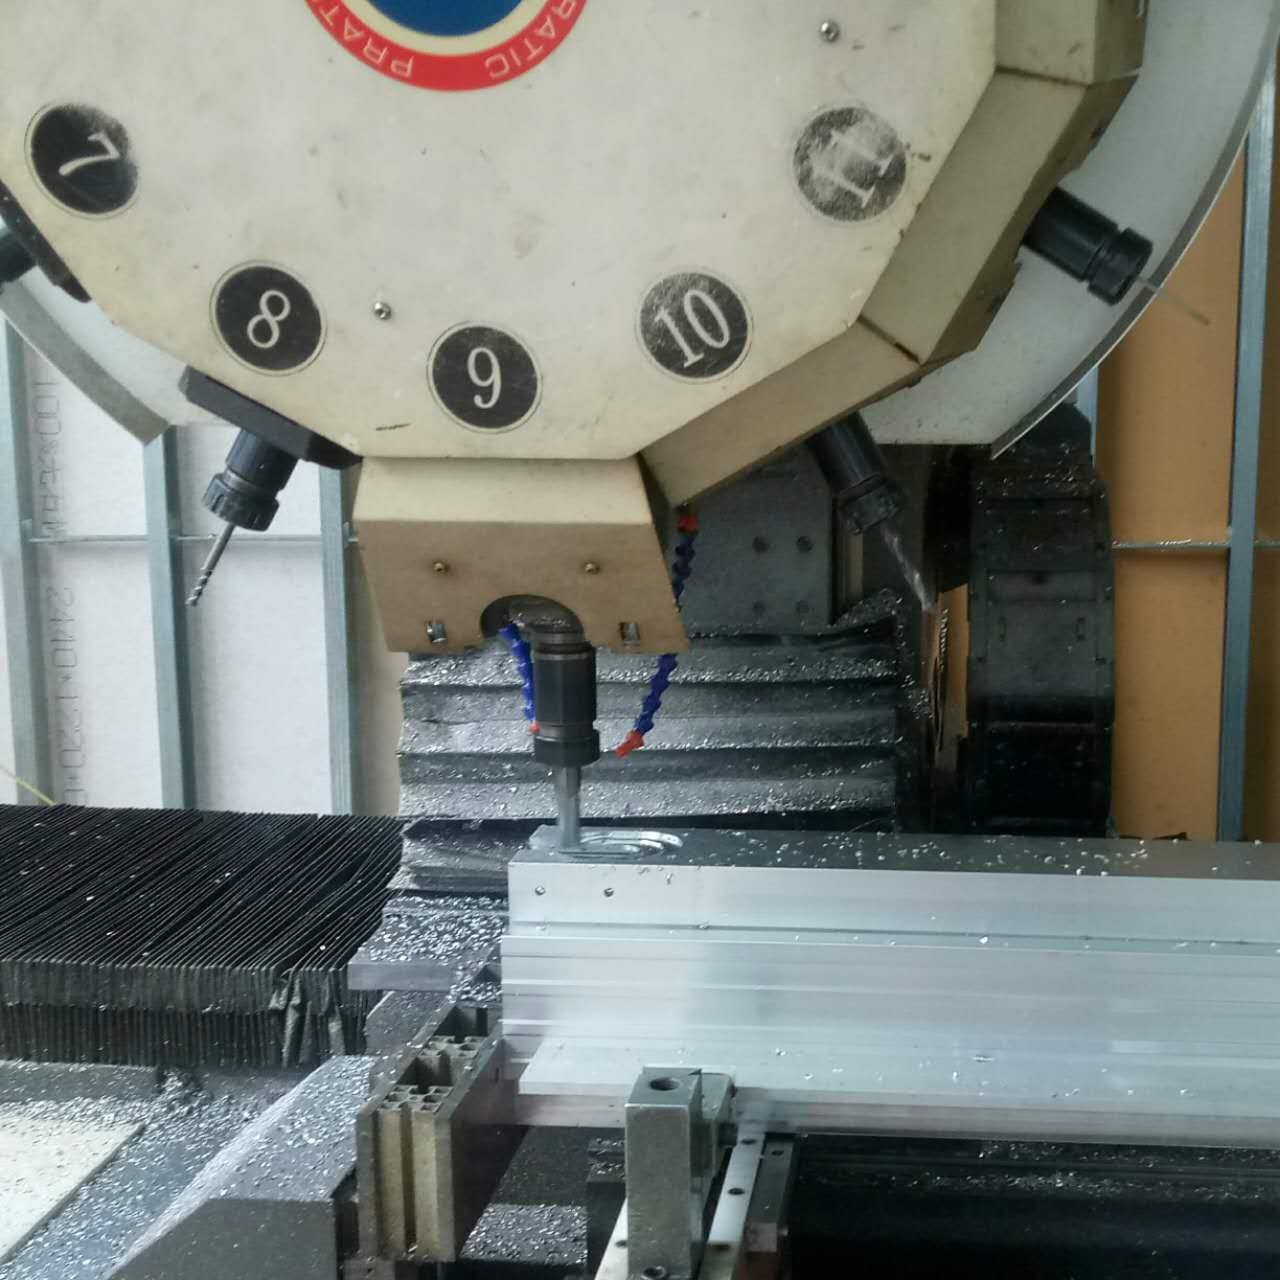
2. Improve the cutting ability of cutting tools
The raw materials and geometric parameters of cutting tools have a significant impact on cutting force and cutting heat. Proper selection of cutting tools is particularly important for reducing deformation during precision machining of aluminum alloy parts.
(1) Effectively select the main parameters of tool geometry.
① Fore angle: Under the standard of maintaining the compressive strength of the cutting edge, the front angle should be moderately selected to be larger. On the one hand, it can polish the sharp cutting edge, and on the other hand, it can reduce cutting deformation, make the milling surface complete, and thus reduce cutting force and cutting temperature. Do not use negative rake angle tools.
② Rear corner: The size of the rear corner has a significant impact on the damage to the rear cutting edge and the processing performance. Cutting thickness is the key criterion for selecting the back corner. During rough milling, due to the high cutting speed, heavy cutting load, and high heat value, it is required to set a good standard for heat pipe heat dissipation of the cutting tool. Therefore, a smaller back angle should be selected. When precision milling, it is required that the cutting edge be sharp to alleviate friction between the rear cutting edge and the machined surface, reduce ductile deformation, and therefore, the rear corner should be selected to be larger.
③ Spiral angle: In order to ensure stable cutting and reduce cutting force, the spiral angle should be selected as large as possible.
④ Main inclination angle: Moderately reducing the main inclination angle can improve the heat dissipation standard of the heat pipe and reduce the average temperature in the precision processing area of the aluminum profile.
(2) Improve tool construction.
① Reduce the number of teeth on the cutting tool and increase the space inside the chip compartment. Due to the significant plastic deformation of die-casting raw materials and cutting deformation during processing, a large space inside the chip chamber is required. Therefore, the bottom radius of the chip chamber should be large and the number of teeth on the cutting tool should be relatively small.
② Fine sharpening technique for teeth. The surface roughness value of the side cutting edge should be lower than Ra=0.4um. Before applying a new knife, a fine grinding stone should be used to gently grind the side blade twice in front and behind to remove any remaining burrs and slight serrated marks from the sharpening technique teeth. That way, not only can cutting heat be reduced, but cutting deformation is also relatively small.
③ Strictly control the damage specifications of cutting tools. After the tool is damaged, the roughness value of the workpiece increases, the cutting temperature rises, and the deformation of the workpiece increases accordingly. Therefore, in addition to using wear-resistant tool raw materials, the tool damage specification should not exceed 0.3mm, otherwise it is very easy to cause chip deposits. During cutting, the temperature of the workpiece generally does not need to exceed 100 ℃ to avoid deformation.
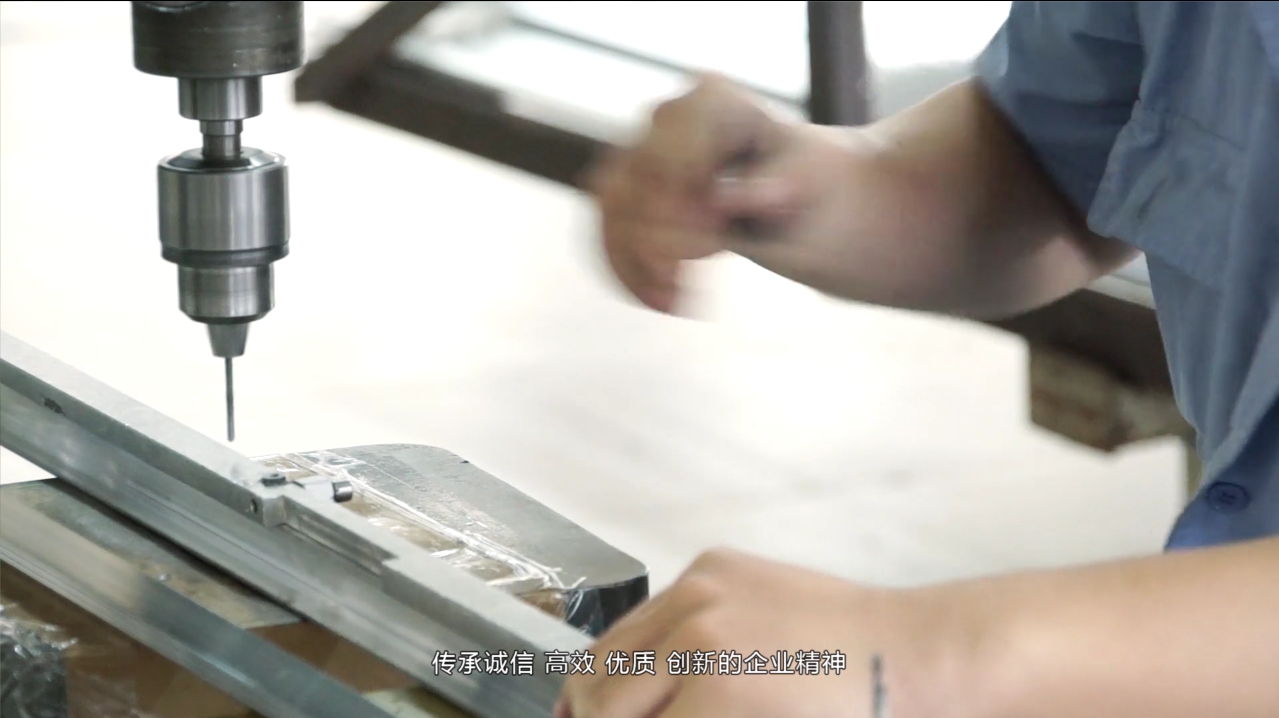
3. Improve the clamping method of workpieces
For thick walled die-casting workpieces with weak stiffness, the following clamping methods can be used to reduce deformation:
① For thick walled shaft sleeve parts, if a three jaw self assured hydraulic chuck or elastic chuck is used to clamp from the axial direction, once it loosens after processing, the aluminum profile workpiece will inevitably deform. At this point, a radial inner hole clamping method with good stiffness should be used. Using the internal threads of the component for precise positioning, create a threaded shaft neck with external threads and insert it into the internal threads of the component. Secure the inner hole with a rear cover plate and back tighten it with a screw cap. When processing the outer circle, it can prevent clamping deformation and achieve satisfactory machining precision.
② When processing thick walled metal sheet workpieces, it is best to use a vacuum suction cup to obtain evenly distributed clamping force, and then use a small amount of cutting to process, which can effectively avoid workpiece deformation.
In addition, the sealing method can also be applied. To improve the processing stiffness of thick walled aluminum profile workpieces, materials can be added inside the workpiece to reduce deformation during clamping and cutting processes. For example, by pouring a urea solution containing 3% to 6% potassium nitrate into the workpiece and processing it, the aluminum profile workpiece can be immersed in water or ethanol to dissolve and pour out the filling material.
4. Scientific arrangement of process flow
During high-speed cutting, due to the large processing capacity and intermittent cutting, the entire cutting process usually causes vibration, which endangers the precision and roughness of aluminum profile processing. Therefore, the entire process of high-speed cutting and machining of CNC machine tools can generally be divided into rough machining, semi precision machining, surface milling, precision machining and other process flows. For parts with high precision requirements, it is sometimes necessary to perform secondary semi precision machining before proceeding with precision machining. After rough machining, the parts can naturally cool, remove the thermal stress caused by rough machining, and reduce deformation. The remaining capacity after rough machining should exceed the deformation amount, usually 1-3mm. When precision machining aluminum profiles, it is necessary to maintain a uniform machining capacity on the surface, generally between 0.2-0.5 millimeters, to ensure that the cutting tool is in a stable state throughout the machining process, greatly reducing cutting deformation and obtaining excellent surface machining quality, ensuring the precision of the product.
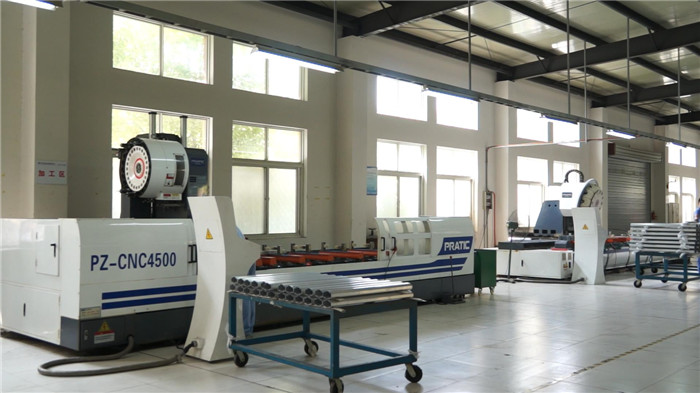
Practical methods for reducing machining deformation
The parts made of aluminum alloy raw materials deform during the entire processing, and in addition to the reasons mentioned above, the operating steps are also crucial during the operation process.
1. For parts with large processing capacity, in order to achieve good heat pipe heat dissipation standards throughout the entire processing process and prevent heat concentration, symmetrical processing should be selected during processing. If there is a 90mm thick plate that must be processed to 60mm, and the other side is immediately cut after milling one side, the flatness can reach 5mm after processing to the final specification in one go; If continuous symmetrical machining is chosen, each side is machined twice to the final specification, ensuring a flatness of 0.2mm.
2. If there are several concave molds on the aluminum alloy profile, it is not suitable to use a sequential processing method of one concave mold after another during processing, which can easily lead to uneven support of the parts and deformation. Select multiple layers for processing, with each layer being processed as much as possible to cover all the concave molds, and then processing the next layer to ensure even support of the parts and reduce deformation.
3. Reduce cutting force and cutting heat by changing the cutting usage. Among the three elements of cutting usage, the amount of back cutting tool has a significant impact on cutting force. If the processing capacity is large and the cutting force of one feed is high, it will not only cause deformation of the parts, but also continue to harm the stiffness of the lathe spindle and reduce the wear resistance of the cutting tools. If the amount of back feeding and knife cutting is reduced, it will have a significant impact on productivity. However, high-speed cutting is commonly used in CNC Machining, which can overcome this difficulty. In addition to reducing the amount of backstepping and cutting, if the cutting speed is relatively increased and the speed ratio of the CNC lathe is increased, the cutting force can be reduced, and the machining efficiency can be ensured.
4. Attention should also be paid to the cutting sequence. Rough machining focuses on improving processing efficiency and pursuing a perfect cutting rate per unit time. Generally, reverse milling can be used. Remove unnecessary raw materials from the surface of the hair germ in the shortest and least amount of time, and generate the geometric contour required for precision machining. The focus of precision machining is on high precision and high quality, and it is advisable to choose milling surfaces. Due to the gradual decrease in the cutting thickness of the cutting teeth from large to zero during sequential milling, the level of machining hardening is greatly reduced, and the deformation level of the parts is also alleviated.
5. Thick walled workpieces are inevitably deformed during machining due to clamping, even during precision machining. In order to minimize the deformation of the workpiece, the clamping piece can be loosened before the aluminum profile is finished to the final specifications, allowing the workpiece to be repaired to its original appearance at will. Then, it can be lightly clamped to the standard of being able to hold the workpiece firmly (completely by touch), so as to achieve the desired processing effect. In summary, the point of application of clamping force is preferably on the surface of the support plate, and the clamping force should be applied in the direction of good workpiece stiffness. Under the premise of ensuring that the workpiece does not loosen, the lower the clamping force, the better.
6. When machining aluminum alloy parts with a concave die, it is not necessary to let the turning tool insert into the parts immediately like a Fried Dough Twists drill when machining the concave die as far as possible, resulting in insufficient space in the turning tool chip chamber, unsmooth milling surface, and bad conditions such as overheating, swelling, tool collapse, and tool breakage of the parts. First, add a Fried Dough Twists drill with the same specification or one size larger than the turning tool to drill the tool hole, and then use the turning tool to cut. Alternatively, the spiral cutting program process can be produced using CAM software.


 Spanish
 Arabic
 French
 Portuguese
 Belarusian
 Japanese
 Russian
 Malay
Malay Icelandic
 Bulgarian
 Azerbaijani
 Estonian
 Irish
Irish Polish
 Persian
 Boolean
 Danish
 German
 Filipino
 Finnish
 Korean
 Dutch
Dutch Galician
 Catalan
 Czech
Czech Croatian
 Latin
Latin Latvian
 Romanian
 Maltese
 Macedonian
 Norwegian
 Swedish
 Serbian
 Slovak
 Slovenian
 Swahili
 Thai
Thai Turkish
 Welsh
Welsh Urdu
Urdu Ukrainian
 Greek
Greek Hungarian
 Italian
 Yiddish
 Indonesian
 Vietnamese
 Haitian Creole
 Spanish Basque

