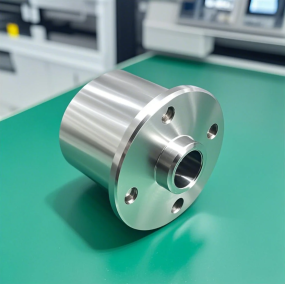
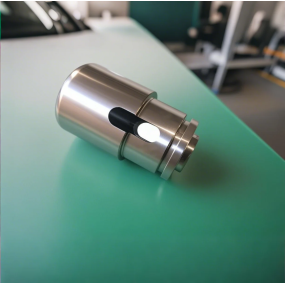
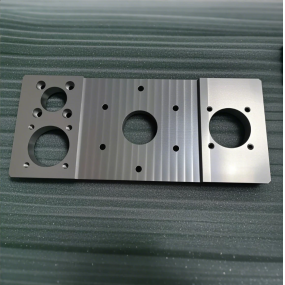
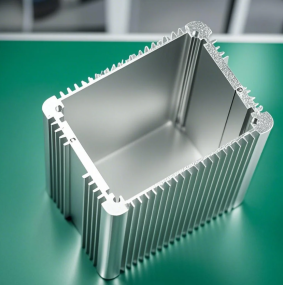
Aluminum precision parts and products are popular for their light weight and exquisite appearance, and are widely used in industry and daily necessities. With the continuous advancement of technology, people's demand for product diversity is becoming increasingly strong. Therefore, the process requirements for aluminum alloy products are becoming increasingly high, and the market demand is also increasing. To meet people's demand for diversity and high quality of aluminum alloy shell products, aluminum alloy CNC Machining manufacturers have summarized the process techniques and issues that need to be noted in aluminum CNC machining.
1. Choose the appropriate processing method
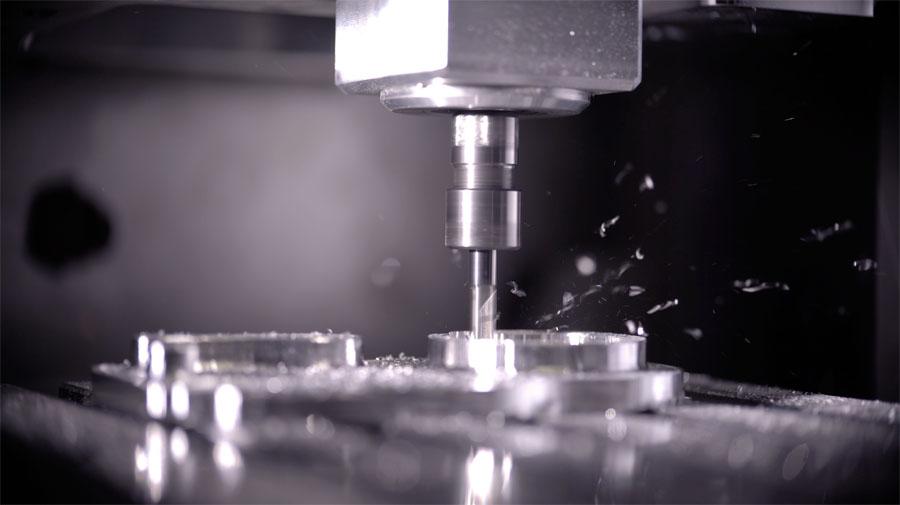
Numerical control cutting is a streamlined cutting method and a commonly used process for precision machining of aluminum materials. I am using an end mill with multi-directional cutting capability, spiral cutting interpolation, and contour cutting interpolation. Process fewer holes with fewer tools.
2. Ball end mills can be used in conjunction with spiral interpolation to continuously process tapered holes.
Ball end mills and spiral interpolation drills can be used for boring and chamfering. End mills can be used in conjunction with contour cutting interpolation for semi precision machining of holes and precision machining of parts. The end mill used for thread machining can be used in conjunction with spiral interpolation to machine various threaded holes.
Efficient aluminum alloy precision parts can be machined in precision holes of various sizes using tool interpolation. The load on each tooth is relatively light, especially when using high-speed milling machines. Therefore, the same coated hard alloy end mill can be used for high-speed and high-precision drilling of various machining materials.
3. Choose the appropriate cutting amount
Staff can choose which cutting speed to use based on the material being processed, hardness, cutting conditions, material type, and cutting depth. These conditions are necessary to effectively reduce machine wear and tear.
4. Choose appropriate tools.
Rake angle: The correct rake angle should be selected while maintaining edge strength. One side can grind sharp cutting edges to reduce cutting deformation, make chip removal smoother, and lower cutting resistance and heat. Do not use tools with negative front angles.
Rear corner: The size of the rear corner directly affects the wear of the rear corner surface and the quality of the machined surface. The cutting thickness is an important criterion for selecting the back angle. When rough machining, the feed rate is large, the cutting load is high, and the heat generation is large, so it is required that the tool has good heat dissipation conditions. Therefore, a smaller rear angle should be chosen. When precision machining with a milling machine, it is necessary to grind the cutting edge to reduce friction between the back cutting surface and the machining surface, and to minimize elastic deformation. Therefore, a larger rear angle should be chosen.
Spiral angle: The spiral angle should be selected as large as possible to make the milling machine smooth and reduce the stress on the milling machine.
Approach angle: Reducing the approach angle appropriately can effectively improve heat dissipation conditions and lower the average temperature of the treatment area.
Reduce the number of milling teeth and increase the space for chip removal.
Due to the high plasticity of aluminum alloy materials, there is significant cutting deformation during processing, resulting in a large chip space. The bottom radius of the chip groove needs to be large, and the number of teeth on the milling cutter needs to be small. For example, milling cutters with a diameter of less than 20mm use 2 teeth, but milling cutters with a diameter of 30~60mm are best equipped with 3 teeth to prevent deformation of thin aluminum alloy parts due to chip blockage.
Fine grinding teeth: The roughness value of the tooth edge should be less than Ra=0.4um. Before using a new knife, its front and back should be lightly polished with a fine oilstone to remove any burrs or slight serrations left behind during grinding. In this way, not only can cutting heat be reduced, but cutting deformation is also relatively small.
Strictly control tool wear standards. As the tool wears out, the surface roughness value of the workpiece increases, the cutting temperature rises, and the deformation of the workpiece increases. Therefore, in addition to selecting tool materials with good wear resistance, the wear standard should not exceed 0.2mm. Otherwise, it is easy to develop debris tumors. When cutting, the temperature of the workpiece should generally not exceed 100 ℃ to prevent deformation.
5. Choose a reasonable fixture.
The parts must fully meet the needs of the machine to reduce unnecessary positioning errors, and special clamping tools should be selected.
6. Determine a reasonable processing route.
Try to keep the processing route as short as possible to reduce machine wear and tear.
In high-speed cutting, the machining allowance is large and the cutting is intermittent, so vibration will be generated during milling, affecting the machining accuracy and surface roughness. Therefore, CNC high-speed cutting can generally be divided into rough machining semi precision machining, corner cleaning, precision machining and other processes.
For parts that require high precision, secondary semi finishing may be necessary before precision machining. After rough machining, the parts are naturally cooled to eliminate the internal stress generated by rough machining and reduce deformation. The remaining allowance after rough machining should be greater than the deformation amount (usually 1-2mm). During the precision machining process, the precision machined surface of the part should maintain uniform machining tolerances. 0.2-0.5mm is usually good. This keeps the tool stable during the machining process and significantly reduces cutting deformation. Obtain good surface processing quality to ensure product accuracy.


 Spanish
 Arabic
 French
 Portuguese
 Belarusian
 Japanese
 Russian
 Malay
Malay Icelandic
 Bulgarian
 Azerbaijani
 Estonian
 Irish
Irish Polish
 Persian
 Boolean
 Danish
 German
 Filipino
 Finnish
 Korean
 Dutch
Dutch Galician
 Catalan
 Czech
Czech Croatian
 Latin
Latin Latvian
 Romanian
 Maltese
 Macedonian
 Norwegian
 Swedish
 Serbian
 Slovak
 Slovenian
 Swahili
 Thai
Thai Turkish
 Welsh
Welsh Urdu
Urdu Ukrainian
 Greek
Greek Hungarian
 Italian
 Yiddish
 Indonesian
 Vietnamese
 Haitian Creole
 Spanish Basque

