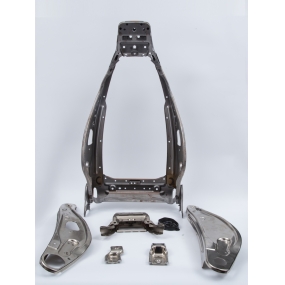
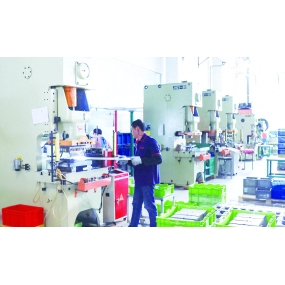
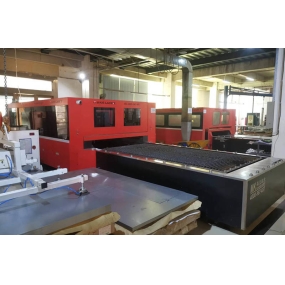
The tolerance size of Metal Stamping parts is related to the size and the selected tolerance grade. The selection of tolerance grades should not only meet the design requirements, but also consider the possibility and economy of the process. That is to say, while meeting the usage requirements, try to increase the tolerance value as much as possible, that is, choose a lower tolerance grade.
GB/T13914-2002 Dimensional Tolerances for Stamping Parts specifies the dimensional tolerances for metal stamping parts. According to the rules for separating flat stamping parts and formed stamping parts, dimensional tolerances have been established. The dimensional tolerance values of stamped parts are related to both the dimensions of the stamped parts and the plate thickness, as well as the accuracy level.
Dimensional tolerance of flat stamping parts: divided into 11 levels, indicated by ST1 to ST11, among which ST indicates the dimensional tolerance of flat stamping parts, and the tolerance level code is indicated by Arabic numerals. The accuracy levels decrease sequentially from ST1 to ST11.
Dimensional tolerance of formed stamping parts: Formed stamping parts are divided into 10 precision levels, indicated by FT1 to FT10, where FT indicates the dimensional tolerance of formed stamping parts and Arabic numerals indicate the tolerance level. The accuracy levels decrease sequentially from FT1 to FT10. Limit error of metal stamping parts: The downward error of hole size is 0, and the upper error is the sum of the lower error and dimensional tolerance; The upper error of the axis size rule is the fundamental error, with a value of 0, and the lower error is the upper error minus the size tolerance. The upper and lower error rules for hole center distance, hole edge distance, length and height of bending and deep drawing are half of the dimensional tolerance.
Tolerance is the range of dimensional changes, and the higher its value, the lower the accuracy and the less difficult the processing; The smaller the value, the higher the accuracy and the greater the processing difficulty. What are the most important things to pay attention to in production?
1. Bending viewpoint: The viewpoint size of a stamped part formed by bending;
2. Punching viewpoint: the viewpoint size formed by punching processing at the plane of a flat plate or formed part;
3. Punching corner radius: a linear dimension of the corner radius of metal stamping parts processed through punching, cutting, and other separate processes;
4. Forming dimensions: Linear dimensions of stamped parts processed through bending, stretching, and other processes;
5. Punching dimensions: Linear dimensions of stamped parts processed through punching, cutting, and other separate processes.
This article is from EMAR Mold Co., Ltd. For more EMAR related information, please click on www.sjt-ic.com,


 Spanish
 Arabic
 French
 Portuguese
 Belarusian
 Japanese
 Russian
 Malay
Malay Icelandic
 Bulgarian
 Azerbaijani
 Estonian
 Irish
Irish Polish
 Persian
 Boolean
 Danish
 German
 Filipino
 Finnish
 Korean
 Dutch
Dutch Galician
 Catalan
 Czech
Czech Croatian
 Latin
Latin Latvian
 Romanian
 Maltese
 Macedonian
 Norwegian
 Swedish
 Serbian
 Slovak
 Slovenian
 Swahili
 Thai
Thai Turkish
 Welsh
Welsh Urdu
Urdu Ukrainian
 Greek
Greek Hungarian
 Italian
 Yiddish
 Indonesian
 Vietnamese
 Haitian Creole
 Spanish Basque

