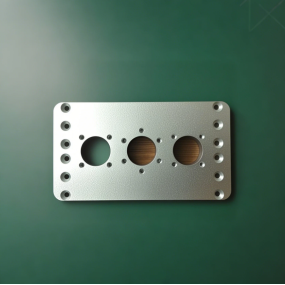
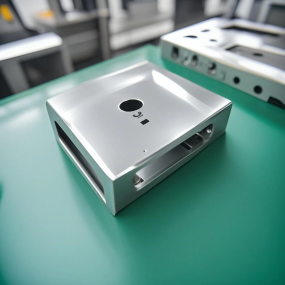
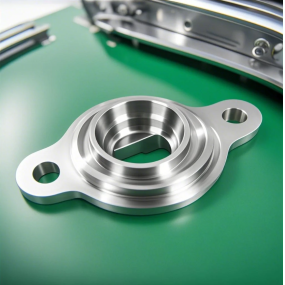
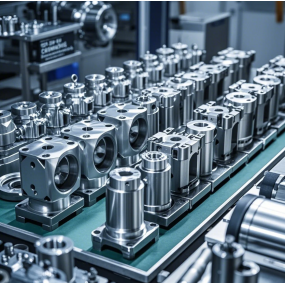
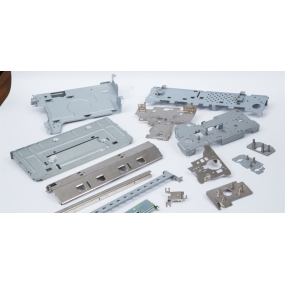
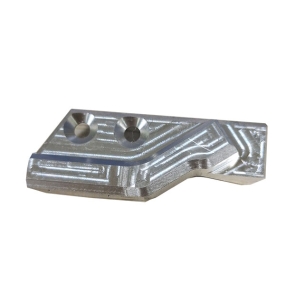
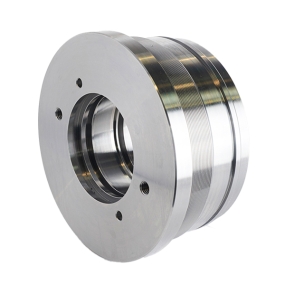
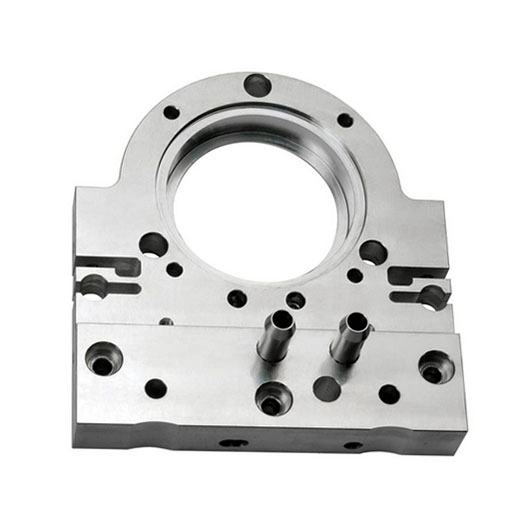
After the non-standard parts are processed, quality inspection is an important step to ensure that the parts meet the design requirements and usage standards. The following are the main steps and methods for quality inspection of non-standard parts: 1. Appearance inspection Visual inspection: Non standard parts are processed by directly observing the surface of the part with the naked eye to check for obvious defects such as cracks, burrs, bubbles, oxidation, rust, etc. For minor defects, it may be necessary to use a high magnification microscope for inspection. Color and Gloss: Check whether the color on the surface of the part is uniform and whether the glossiness meets the requirements to determine the quality of the coating or surface treatment. 2. Selection of Dimensional Measurement Tools: For non-standard parts processing, appropriate measuring tools such as rulers, calipers, vernier calipers, micrometers, height gauges, inner diameter gauges, outer diameter gauges, etc. are selected based on the design drawings and dimensional requirements of the parts. Accurate measurement: Strictly measure according to the dimensions specified in the design drawings to ensure that key parameters such as length, diameter, aperture, and thickness of the parts meet tolerance requirements. During the measurement process, measurement errors should be eliminated to ensure the accuracy of the measurement results. 3、 Material inspection and analysis: Based on the design requirements of the parts, inspect and analyze the materials of the parts. Common material analysis methods include grinding tests, tensile tests, hardness tests, chemical composition analysis, etc., to determine whether the material's properties meet the requirements. Material certification: The supplier is required to provide a certificate of conformity or quality certificate for the material to ensure its reliable source and quality. 4、 Functional testing performance evaluation: Non standard parts are processed and subjected to corresponding performance tests based on the usage environment and functional requirements of the parts. For example, for parts on mechanical equipment, load testing, vibration testing, etc. may be required; For electrical components, electrical testing and withstand voltage testing are required. Simulation experiment: Using experimental equipment and processes to simulate the operation process of parts, determine the service life and durability of parts. By simulating the usage environment, test the working performance of parts under different conditions to evaluate their actual effectiveness. 5、 Detailed records and reports: During the quality inspection process of non-standard parts processing, the results and data of each inspection should be recorded in detail, including information on appearance inspection, dimensional measurement, material inspection, and functional testing. Quality report: Prepare a detailed quality inspection report based on recorded data and information. The report should include basic information about the parts, inspection methods, inspection results, existing problems, and improvement suggestions. 6、 Unqualified handling identification and isolation: For parts that fail inspection, they should be immediately identified and isolated to prevent misuse or mixing with qualified products. Root cause analysis: Conduct a root cause analysis on non-conforming products, identify the reasons and responsible departments that led to the non-conforming products. Improvement measures: Based on the analysis of the causes, corresponding improvement and corrective measures will be formulated for the processing of non-standard parts to prevent similar problems from happening again.


 Spanish
 Arabic
 French
 Portuguese
 Belarusian
 Japanese
 Russian
 Malay
Malay Icelandic
 Bulgarian
 Azerbaijani
 Estonian
 Irish
Irish Polish
 Persian
 Boolean
 Danish
 German
 Filipino
 Finnish
 Korean
 Dutch
Dutch Galician
 Catalan
 Czech
Czech Croatian
 Latin
Latin Latvian
 Romanian
 Maltese
 Macedonian
 Norwegian
 Swedish
 Serbian
 Slovak
 Slovenian
 Swahili
 Thai
Thai Turkish
 Welsh
Welsh Urdu
Urdu Ukrainian
 Greek
Greek Hungarian
 Italian
 Yiddish
 Indonesian
 Vietnamese
 Haitian Creole
 Spanish Basque

