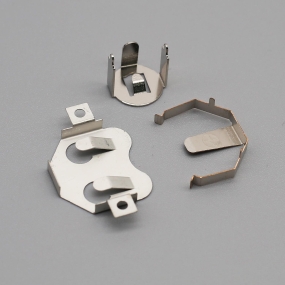
Detecting the positioning accuracy of CNC Machining centers is a complex but crucial process that directly affects the quality and accuracy of machined parts. The following are the testing methods for the positioning accuracy of CNC machining centers based on national standards and the regulations of the International Organization for Standardization (ISO), as well as common practices: 1. Testing environment and conditions · No load conditions: The testing of linear motion positioning accuracy is generally carried out under the condition of no load on the machine tool and worktable to ensure the accuracy of the measurement results. 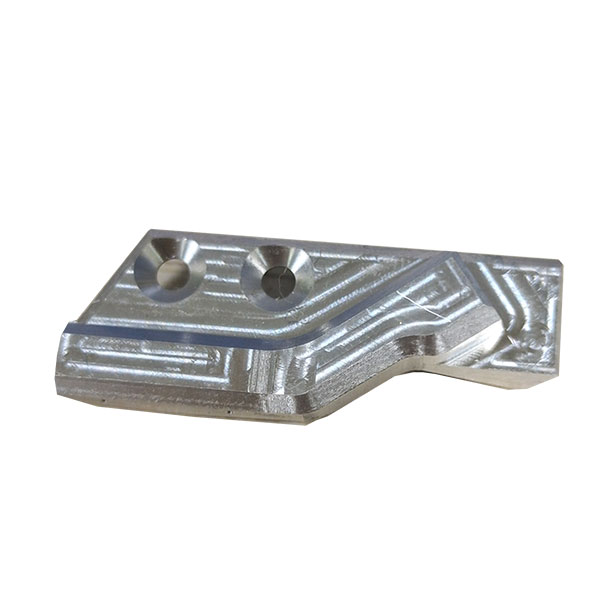 · Environmental temperature and state: The measurement results of positioning accuracy are related to the environmental temperature and the working state of the coordinate axis. Therefore, it is necessary to measure under a stable environmental temperature and consider the impact of the working state of the coordinate axis on accuracy. 2、 Testing tools and equipment - Laser interferometer: According to national standards and the regulations of the International Organization for Standardization, laser measurement should be used as the standard for testing CNC machine tools. Laser interferometer is a high-precision and high stability measuring device that can accurately measure the displacement and angle changes of machine tools, thereby evaluating their positioning accuracy· Standard scale and optical reading microscope: CNC machining centers can use a standard scale with an optical reading microscope for comparative measurement without a laser interferometer. However, it should be noted that the accuracy of the measuring instrument is 1-2 levels higher than that of the tested instrument. 3、 Detection method and steps: Select measurement location: Measure at any three positions near the midpoint and ends of each coordinate stroke. The selection of these positions can comprehensively reflect the positioning accuracy of the machine tool in different stroke segments. Repeat positioning measurement: At each measurement position, use a fast moving positioning method to repeat positioning 7 times under the same conditions (or determine the number of times according to specific standards), measure the value of the stop position, and calculate the maximum difference in readings· Calculate the repeatability accuracy: Take half of the largest difference among the three positions (with positive and negative symbols attached) as the repeatability accuracy for that coordinate. This is a basic indicator reflecting the stability of axis motion accuracy· Origin return accuracy detection: Origin return accuracy is essentially the repeated positioning accuracy of a special point on the coordinate axis, so its detection method is the same as the repeated positioning accuracy· Reverse error detection: The reverse error (loss of momentum) of linear motion reflects the comprehensive influence of errors such as the reverse dead zone of the driving components on the coordinate axis feed transmission chain, the reverse clearance of each mechanical motion transmission pair, and elastic deformation. The detection method is to move a distance in the forward or reverse direction within the stroke of the measured coordinate axis, and use this stop position as a reference. Then, give a certain movement command value in the same direction and move a certain distance in the reverse direction to measure the difference between the stop position and the reference position. Perform multiple measurements (usually 7 times) at three positions near the midpoint and ends of the journey, and calculate the average value at each position to evaluate the reverse error· Positioning accuracy detection of CNC rotary worktable: For CNC rotary worktable, rapid positioning measurement should be carried out with a target position of every 30. Quickly locate each target position multiple times (e.g. 7 times) from both positive and negative directions, calculate the difference between the actual achieved position and the target position as the position deviation, and use the methods specified in relevant standards (such as GB10931-89) to calculate the average position deviation and standard deviation to evaluate its positioning accuracy. 4、 Attention · Instrument accuracy requirements: The accuracy of the measuring instrument must be 1-2 levels higher than the measured accuracy to ensure the accuracy of the measurement results· Error analysis and handling: During the measurement process, attention should be paid to observing and recording factors that may affect the measurement results, such as temperature fluctuations, machine tool vibrations, etc., and considering the impact of these factors on positioning accuracy during data analysis· Regular calibration and maintenance: Measuring instruments should be calibrated and maintained regularly to ensure their accuracy and stability. At the same time, the machine tool itself should also undergo regular maintenance and upkeep to improve its overall performance and positioning accuracy.
Hello! Welcome to EMAR's website!
 English
 » »
» »
 Spanish
 Arabic
 French
 Portuguese
 Belarusian
 Japanese
 Russian
 Malay
Malay Icelandic
 Bulgarian
 Azerbaijani
 Estonian
 Irish
Irish Polish
 Persian
 Boolean
 Danish
 German
 Filipino
 Finnish
 Korean
 Dutch
Dutch Galician
 Catalan
 Czech
Czech Croatian
 Latin
Latin Latvian
 Romanian
 Maltese
 Macedonian
 Norwegian
 Swedish
 Serbian
 Slovak
 Slovenian
 Swahili
 Thai
Thai Turkish
 Welsh
Welsh Urdu
Urdu Ukrainian
 Greek
Greek Hungarian
 Italian
 Yiddish
 Indonesian
 Vietnamese
 Haitian Creole
 Spanish Basque


