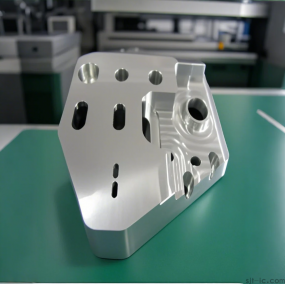
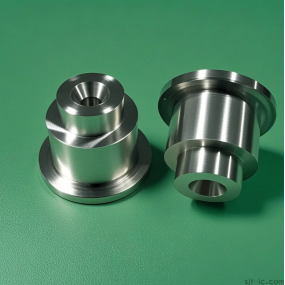
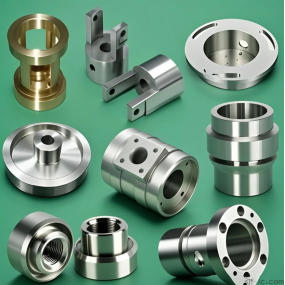
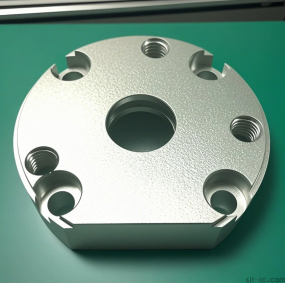
Stamping parts processing manufacturers, processing Metal Stamping parts, stainless steel stamping parts, shaped parts, etc. With the development of society, the mold profession has developed rapidly and can be used in various industries. The installation and disassembly of molds also require a certain order. Below is a brief understanding of the disassembly order of metal stamping parts molds:
1. Square the metal stamping die on the fitter's table, and use both hands to hold the small die near the guide sleeve of the upper template, then lift it up with force to separate the upper and lower molds. If it is impossible to separate, one person can lift the entire mold slightly away from the desktop and suspend it, while the other person can use a copper rod to tap around the template material in one go to make it detach. Note that the upper mold after separation should be placed flat on the side to avoid damaging the cutting edge of the mold; 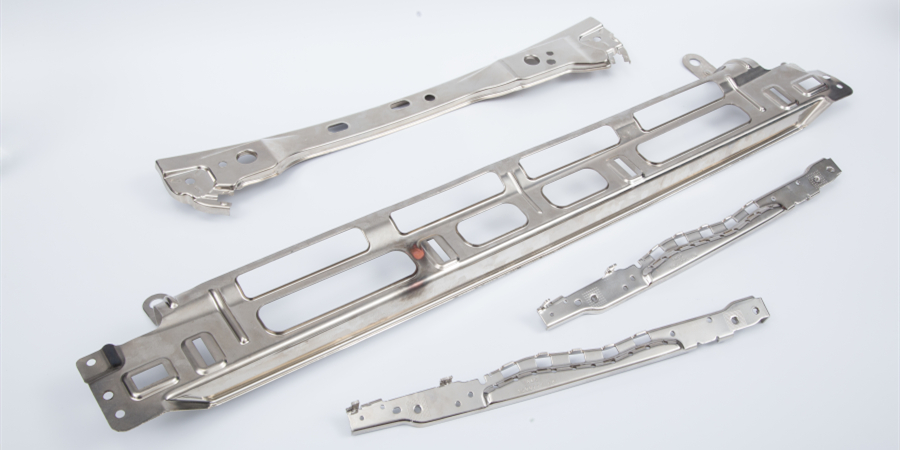
2. Clamp the upper mold horizontally onto the vise (note that only the template part can be clamped), use a hex wrench to unscrew the fastening screws of the mold handle, concave mold fixing plate, and concave film at once, and then punch out the pin. The upper mold part can be decomposed into individual die parts;
3. The disassembly of the lower mold is basically the same as that of the upper mold. Remove the elastic unloading plate screws (insert an Allen wrench from the lower cheek direction of the lower mold), remove the unloading rubber, and then remove the screws and pins of the convex and concave molds. At this point, the disassembly of the lower mold is completed;
4. Measure the cutting edge dimensions including convex and concave molds with a vernier caliper and record them.
This article is from EMAR Mold Co., Ltd. For more EMAR related information, please click on www.sjt-ic.com,


 Spanish
 Arabic
 French
 Portuguese
 Belarusian
 Japanese
 Russian
 Malay
Malay Icelandic
 Bulgarian
 Azerbaijani
 Estonian
 Irish
Irish Polish
 Persian
 Boolean
 Danish
 German
 Filipino
 Finnish
 Korean
 Dutch
Dutch Galician
 Catalan
 Czech
Czech Croatian
 Latin
Latin Latvian
 Romanian
 Maltese
 Macedonian
 Norwegian
 Swedish
 Serbian
 Slovak
 Slovenian
 Swahili
 Thai
Thai Turkish
 Welsh
Welsh Urdu
Urdu Ukrainian
 Greek
Greek Hungarian
 Italian
 Yiddish
 Indonesian
 Vietnamese
 Haitian Creole
 Spanish Basque

