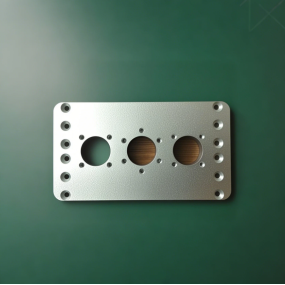
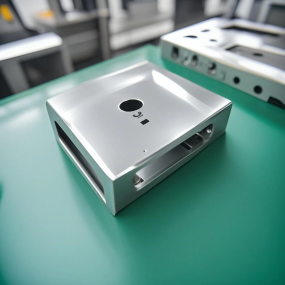
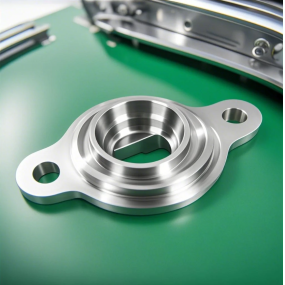
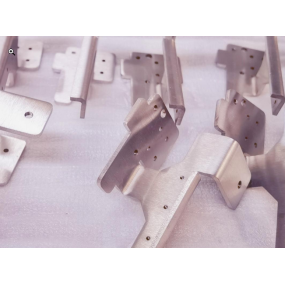
The Metal Stamping parts produced by the stamping molds of the processing plant need to be inspected after processing and production. Only after passing the inspection can the stamping parts be packed, shipped, and inspected. The main aspects to consider are as follows:
1、 Appearance inspection of metal stamping parts
Firstly, it includes:; 1. Burr. 2. Wrinkle. 3. Pull hair. 4. Impact line. 5. Mold indentation. 6. Pits. 7. Corrosion. 8. Damn it. 9. Cracks. 10. Punching and sinking. 11. The smoothness of rounded corners. 12. Thickness situation. 13. Ripples. 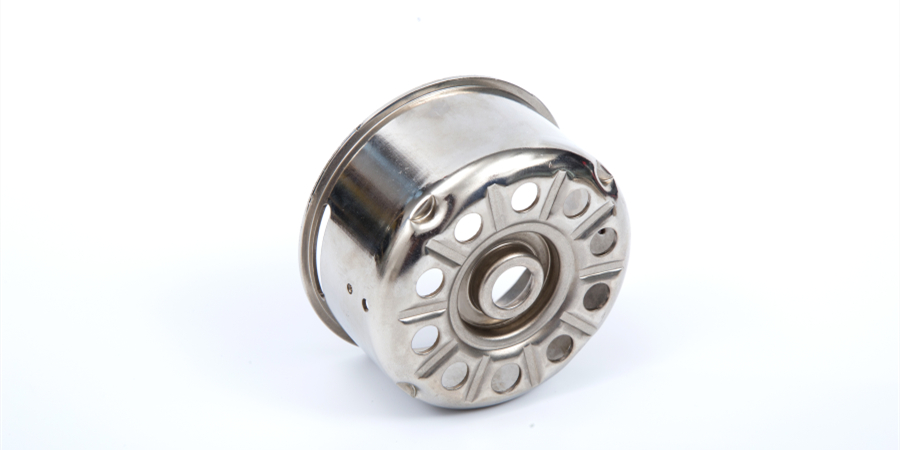
2、 Several scale detection of metal stamping parts
1. Measurement of several dimensions of metal stamping parts: refers to the measurement of several dimensions of stamping parts on a measuring tool. For parts without measuring tools, conventional tools such as vernier calipers, steel rulers, box rulers, angle gauges, etc. are used;
2. Testing method for metal stamping parts with inspection tools: In the natural state, the main and auxiliary positioning pins are used to fully position the parts, and the tightness between the parts and the reference surface is recorded. The measured gap value directly with the S surface is recorded in the testing record table. If there are no special rules, the reference point is set to "0", but one of the four cutting points on the reference surface allows a gap of 0.2mm. The public service of the reference hole is handled according to the requirements of the reference book; According to the requirements of the monitoring point orientation in the reference book, record the collected data after measurement in the viewing score sheet. For the parts that cannot be measured under the clamping state of the inspection tool, such as the orientation of the inspection hole/bolt/nut, open the interference part clamping arm and then measure and confirm. This makes it easy to detect any issues with the stamping die.
This article is from EMAR Mold Co., Ltd. For more EMAR related information, please click on www.sjt-ic.com,


 Spanish
 Arabic
 French
 Portuguese
 Belarusian
 Japanese
 Russian
 Malay
Malay Icelandic
 Bulgarian
 Azerbaijani
 Estonian
 Irish
Irish Polish
 Persian
 Boolean
 Danish
 German
 Filipino
 Finnish
 Korean
 Dutch
Dutch Galician
 Catalan
 Czech
Czech Croatian
 Latin
Latin Latvian
 Romanian
 Maltese
 Macedonian
 Norwegian
 Swedish
 Serbian
 Slovak
 Slovenian
 Swahili
 Thai
Thai Turkish
 Welsh
Welsh Urdu
Urdu Ukrainian
 Greek
Greek Hungarian
 Italian
 Yiddish
 Indonesian
 Vietnamese
 Haitian Creole
 Spanish Basque

