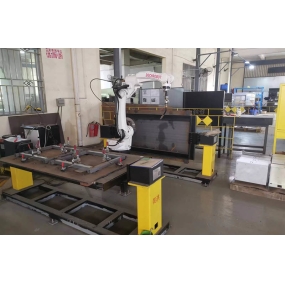
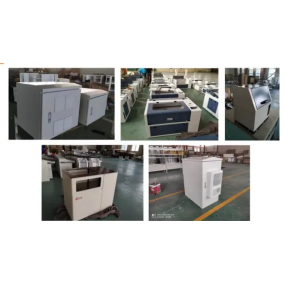
The installation method of semiconductor cabinets is not difficult, but there are still some details that need to be known. Many friends have asked for details multiple times, so let's summarize them together in this issue.
1、 Installation instructions for semiconductor cabinet:
The following precautions should be taken during the installation of semiconductor cabinets:
1. Check the appearance of the equipment with the relevant dimensions of the cabinet to ensure that it matches the selected bracket. A sturdy cabinet can weigh up to 250 kilograms, and all installation screws must not be loose. The protective rubber pads must be securely installed, so please confirm the tools used to remove equipment such as lifting doors and handcarts. Okay, there are wheels under the cabinet, just put that device in and push the cabinet to the appropriate place.
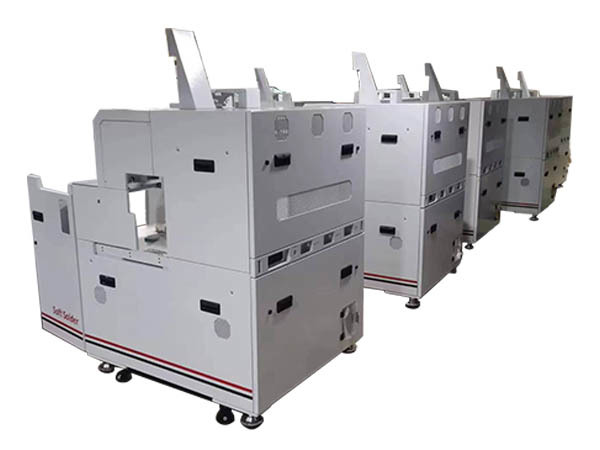
2. Please measure the size of the room and the height of the ceiling, doors, and elevator through which the cabinets pass. In addition, considering the various devices in the cabinet, please place the cabinet near the power supply, network cable sockets, and communication outlets.
3. When opening and closing cabinets, confirm the angle at which the cabinet door opens. The standard cabinet door opens on the right side and the central axis opens on the left side, although the opposite cannot be ruled out. All doors and side panels should be easy to open for maintenance. The appearance should be vertical, the cabinet surface should be kept horizontal, the vertical deviation should be less than 1%, the horizontal deviation should be less than 3 millimeters, the gap between cabinets should be less than 1 millimeter, the cabinet surface should be intact, the screws should be firm, and the surface roughness per square meter should be less than 1 millimeter.
4. When installing equipment cabinets in an existing cabinet group, you can queue up next to the cabinets for safety and cleanliness. Some file cabinet groups cannot be added due to various reasons, or only a few attachments can be added. A good cabinet group model should have sufficient scalability and all necessary hardware. Remove the side panel of the cabinet and connect it together with screws to form a row.
2、 Installation steps for semiconductor cabinet:
Computer room equipment is necessary, and cabinets are one of the main equipment.
The commonly used 19 inch (standard 600mm) heights are 42U, 37U, and 32U, respectively.
27U, depth 1000mm, 900cm, 800mm, 600mm.
1、 Installation of semiconductor cabinet
Residential equipment is necessary, and cabinets are one of the main equipment. The commonly used 19 inch (standard 600mm) heights are 42U. It's 37U. It's 32U. 27U. If the depth is 1000 mm, 900 cm, 800 mm, or 600 mm, the cabinet installation example is as follows:
2、 Semiconductor Cabinet Installation Plan
In order to plan available space for cooling and equipment maintenance before installing the cabinet, the distance between the front and back of the cabinet and the wall or other equipment should be less than 1 meter, and the net height of the computer room should be less than 2.5 meters.
(1) Inner wall or reference object
(2) Rear of cabinet
(3) Cabinet outline
3、 Preparation work before installation
Before installation, the on-site base must be correct. Otherwise, rework may occur.
Disassemble the cabinet and cabinet accessory packaging wooden box according to the packaging box instructions.
4、 Cabinet installation
1. Installation process.
Fixing the cabinet onto the cabinet mounting base allows for direct installation of cabinet accessories.
2. Cabinet location.
Place the cabinet in the planned position, check the front and back of the cabinet, and align the floor feet of the cabinet with the corresponding floor position markings.
(1) Cabinet bottom frame (2) Cabinet locking nut (3) Cabinet bottom bracket (4) Pressure plate locking nut
Identification method for the front and back of the cabinet: The side with the cable box is the back of the cabinet.
3. Cabinet level adjustment.
Place a horizontal ruler in two perpendicular directions on the top plane of the cabinet to check its levelness. Use a wrench to turn the screws on the feet, adjust the height of the cabinet to make it level, and then lock the locking nut at the bottom of the cabinet so that it is completely aligned with the bottom plane of the cabinet.


 Spanish
 Arabic
 French
 Portuguese
 Belarusian
 Japanese
 Russian
 Malay
Malay Icelandic
 Bulgarian
 Azerbaijani
 Estonian
 Irish
Irish Polish
 Persian
 Boolean
 Danish
 German
 Filipino
 Finnish
 Korean
 Dutch
Dutch Galician
 Catalan
 Czech
Czech Croatian
 Latin
Latin Latvian
 Romanian
 Maltese
 Macedonian
 Norwegian
 Swedish
 Serbian
 Slovak
 Slovenian
 Swahili
 Thai
Thai Turkish
 Welsh
Welsh Urdu
Urdu Ukrainian
 Greek
Greek Hungarian
 Italian
 Yiddish
 Indonesian
 Vietnamese
 Haitian Creole
 Spanish Basque

