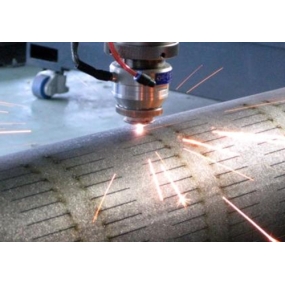
Automotive hardware stamping parts are generally obtained by punching the required holes and profiles on the material. The orientation and shape of the holes and profiles are required to be consistent with the drawings, with errors within the industry‘s specified tolerances. The appearance should ensure outstanding performance without significant defects such as burrs, sharp corners, and scratches. Holes and profiles are the primary elements of automotive hardware stamping parts. According to the requirements of the vehicle body and stamping parts, the holes on stamping parts can be divided into three categories: device holes, positioning holes, and process holes.
1. Device holes refer to the holes required for installing chassis, interior, and accessories on the car body, which are matched with the standard components of the device. The size and shape are determined by the standard components according to the purpose; There are generally three types of holes: square holes, round holes, and long holes. Square holes cooperate with square standard parts such as plastic buckles, while round holes and long holes cooperate with standard parts such as bolts. The inner diameter should be 0.5mm larger than the outer diameter of the standard parts such as bolts. A hole with a standard circular shape is called a round hole. The orientation of this type of hole is very precise, and there is no adjustment allowance when installing accessories. Therefore, long holes are more commonly used. Due to the requirements of the vehicle body and stamping process, the shape of long holes is planned to be composed of a square and two semicircles, which ensures that there is a certain adjustment allowance when installing accessories, so that the accessories can be accurately and conveniently installed on the vehicle body; 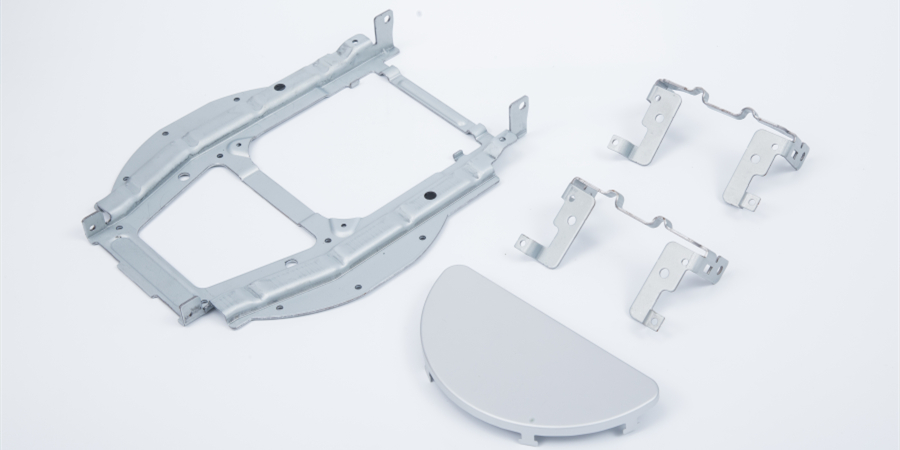 2. Positioning holes refer to the holes used in car body welding to locate automotive stamping parts. Due to the requirement for precise orientation during car body welding, positioning holes are mostly circular holes, and there are also very few positioning holes that are planned as squares due to special requirements. This type of hole requires precise orientation for both large and small dimensions during stamping;
3. Process holes include intentionally left gaps for the convenience of device accessories, holes for the flow of swimming fluid during electrophoresis, gaps planned for shaping and reducing the weight of stamped parts, and gaps that have to be planned for formability. Process holes have different shapes, sizes, and orientations, and are generally determined by purpose, shape, and stamping process;
The requirement is to clarify that in the planning of automotive Metal Stamping parts, the above three types of holes are not independent of each other. For example, positioning holes can also serve as process holes, and process holes can also be used as positioning holes. Automotive stamping parts factories should be sensitive to the differences between these three types of holes based on actual situations. In special cases, the device hole can be used as a process hole, but generally cannot be used as a positioning hole. Due to the fact that positioning holes are mostly planned to grow holes, there will be significant errors when positioning them. Secondly, the device hole will be welded with a cooperative specification component such as a protruding welding nut or a welding bolt before welding. If it is forcibly used as a positioning hole, a pin with a special shape that is difficult to process will be required on the fixture, and the positioning may not be accurate.
This article is from EMAR Mold Co., Ltd. For more EMAR related information, please click: www.sjt-ic.com,


 Spanish
 Arabic
 French
 Portuguese
 Belarusian
 Japanese
 Russian
 Malay
Malay Icelandic
 Bulgarian
 Azerbaijani
 Estonian
 Irish
Irish Polish
 Persian
 Boolean
 Danish
 German
 Filipino
 Finnish
 Korean
 Dutch
Dutch Galician
 Catalan
 Czech
Czech Croatian
 Latin
Latin Latvian
 Romanian
 Maltese
 Macedonian
 Norwegian
 Swedish
 Serbian
 Slovak
 Slovenian
 Swahili
 Thai
Thai Turkish
 Welsh
Welsh Urdu
Urdu Ukrainian
 Greek
Greek Hungarian
 Italian
 Yiddish
 Indonesian
 Vietnamese
 Haitian Creole
 Spanish Basque

