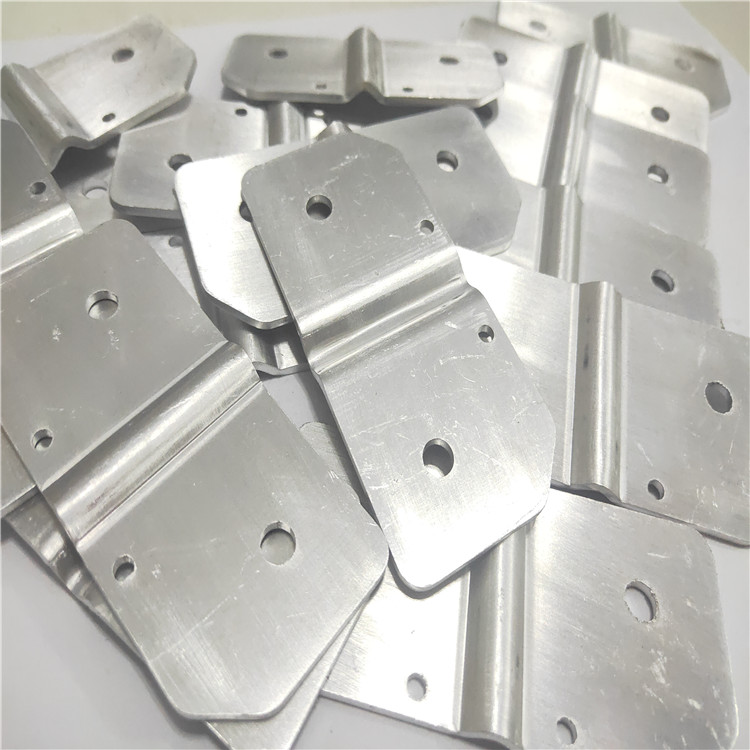
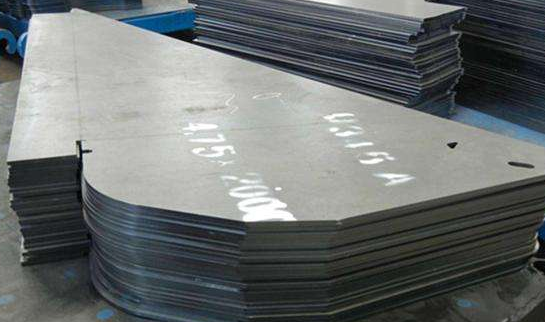
In the process of stamping, various defects such as pits, bags, cracks, scratches, folds, indentations, etc. will form on the surface of the Metal Stamping parts due to various reasons. So it is necessary to use relevant methods to check. However, the detection method of the appearance defects of the stamping parts can only intuitively reflect the existence of the defects, not the seriousness of the defects themselves.
Now, General Motors‘ GSQE (Global Appearance Quality Assessment) system has been introduced into the appearance inspection of metal stamping parts, which divides the appearance of each part of the vehicle into four areas: A, B, C, and D. A is the fully visible area, B is the generally visible area, C is the generally invisible area, and D is the completely invisible area. 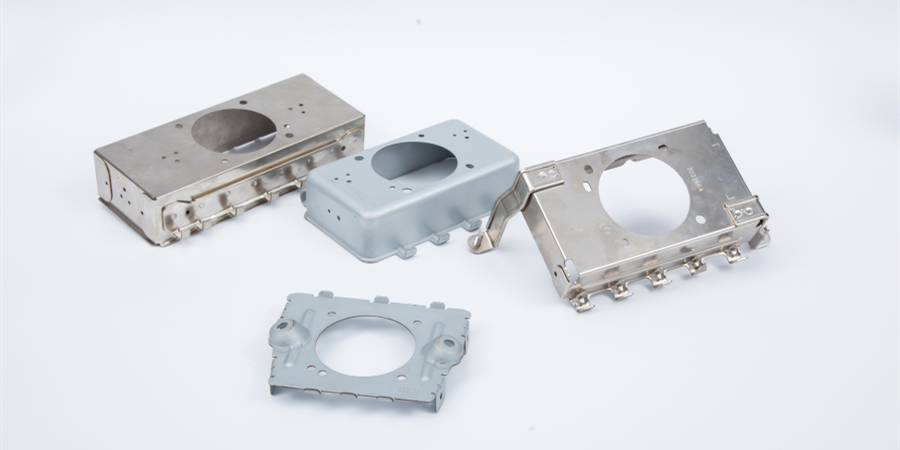 In addition, according to the degree of impact of the appearance defect on the vehicle and the difficulty of being discovered, it can be divided into one, two, and three grades from low to high. The first level is a very significant shortcoming, which can be found without the use of oiling and without relying on any light reflection; the second level is a shortcoming that needs to be identified by the principle of light reflection. The investigation method is as follows. Standing 23m away from the survey point, identify from two or more different directions perpendicular to the survey point 3045. The third level is a relatively subtle shortcoming level, which may not be visible when using strong light, it is necessary to investigate carefully and carefully, and can be viewed at close range from one direction or one angle.
According to the location and difficulty of the defects, the surface defects of metal stamping parts have different deduction values. The inspector can determine the severity of the defects based on the deduction value and formulate corresponding preventive measures, which can effectively control the appearance quality of the stamping parts.
This article is from EMAR Mold Co., Ltd. For more EMAR related information, please click: www.sjt-ic.com,


 Spanish
 Arabic
 Spanish Basque
 Portuguese
 Belarusian
 Japanese
 Russian
 Icelandic
 Bulgarian
 Azerbaijani
 Estonian
 Irish
Irish Polish
 Persian
 Boolean
 Danish
 German
 French
 Filipino
 Finnish
 Korean
 Dutch
Dutch Galician
 Catalan
 Czech
Czech Croatian
 Latin
Latin Latvian
 Romanian
 Maltese
 Malay
Malay Macedonian
 Norwegian
 Swedish
 Serbian
 Slovak
 Slovenian
 Swahili
 Thai
Thai Turkish
 Welsh
Welsh Urdu
Urdu Ukrainian
 Greek
Greek Hungarian
 Italian
 Yiddish
 Indonesian
 Vietnamese
 简体中文
简体中文 Haitian Creole


