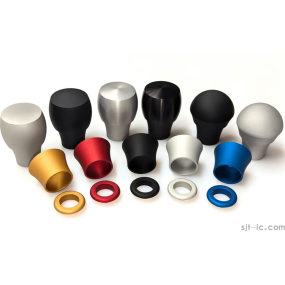
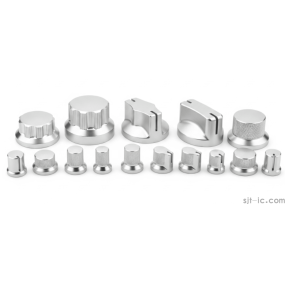
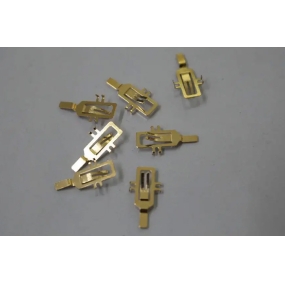
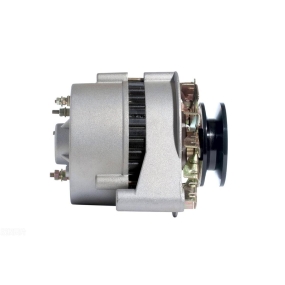
Sheet Metal Processing is called sheet metal processing. Sheet metal processing is a hub technology that sheet metal technicians need to grasp, and it is also an important process for sheet metal product forming. Sheet metal processing includes traditional methods and process parameters such as cutting, blanking, and bending. It also includes various cold stamping die structures and process parameters, various equipment working principles and operation methods, as well as new stamping technologies and new processes. Sheet metal processing for parts is called sheet metal processing. What are the tolerance standards for sheet metal processing? Precision sheet metal processing
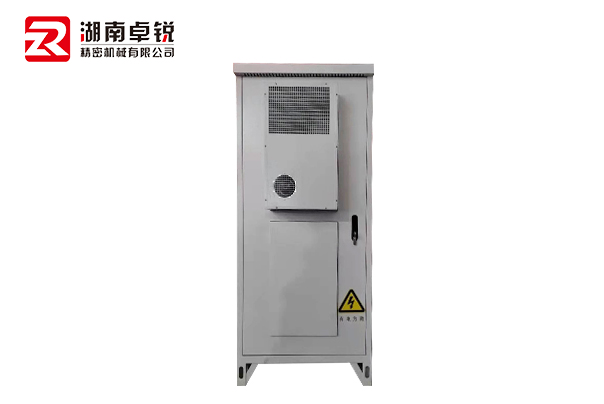 Sheet metal processing tolerance standards:
1. Determine the dimensions determined in the design according to the strength and structural requirements of the part. Standard diameter or length should be given priority.
2. The size obtained by measurement.
3. Two thresholds for allowing size changes. It is based on the base size. The larger of the two limit values is called the Z maximum limit size; the smaller is called the Z small limit size.
4. The algebraic difference obtained by subtracting the base size of a certain size. The size deviation is as follows: Upper limit of deviation = Z maximum limit size - basic size. Lower limit of deviation = Z small limit size - basic size, up and down deviation can be called limit deviation, up and down deviation can be positive, negative, or zero.
5. Allowable size change. Dimensional tolerance = Z maximum limit size - Z small limit size = upper deviation - lower deviation. Since the Z maximum limit size is always greater than the Z minimum limit size, that is, the upper deviation is always greater than the lower deviation, and the dimensional tolerance must be positive.
6. Standard tolerances are any tolerances listed in national standards for determining the size of the tolerance area. Standard tolerance grades are grades for determining the degree of dimensional accuracy. Standard tolerances are divided into 20 grades, namely IT01, IT0, IT1, IT - 18, indicating standard tolerances. Arabic numerals indicate standard tolerance grades. Among them, IT01 grade Z is high, the grade is reduced in turn, and IT18 grade Z is low. For a certain basic size, the higher the standard tolerance grade, the smaller the standard tolerance value, and the higher the accuracy of the size.
7. Used to determine the upper and lower deviations of the tolerance area relative to the zero line. Generally refers to the deviation near the zero line
8. The shaft tolerance code and the standard tolerance grade code are composed of two parts and are written with the same number.


 Spanish
 Arabic
 French
 Portuguese
 Belarusian
 Japanese
 Russian
 Malay
Malay Icelandic
 Bulgarian
 Azerbaijani
 Estonian
 Irish
Irish Polish
 Persian
 Boolean
 Danish
 German
 Filipino
 Finnish
 Korean
 Dutch
Dutch Galician
 Catalan
 Czech
Czech Croatian
 Latin
Latin Latvian
 Romanian
 Maltese
 Macedonian
 Norwegian
 Swedish
 Serbian
 Slovak
 Slovenian
 Swahili
 Thai
Thai Turkish
 Welsh
Welsh Urdu
Urdu Ukrainian
 Greek
Greek Hungarian
 Italian
 Yiddish
 Indonesian
 Vietnamese
 Haitian Creole
 Spanish Basque


