The positioning error of mechanical precision parts processing. First, the reference does not coincide with the error. The reference used to determine the size and position of a surface on the part drawing is called the design reference. The reference used to determine the size and position of the machined surface in this process on the process drawing is called the process reference.
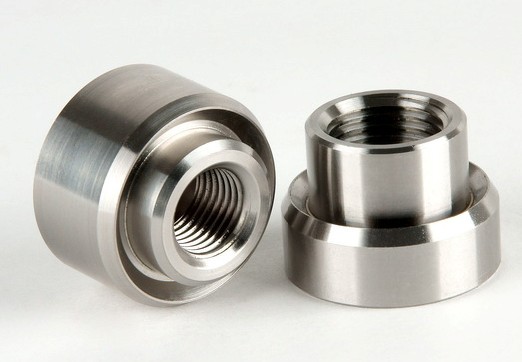 When machining a workpiece on a machine tool, several geometric elements on the workpiece must be selected as the positioning reference during processing. If the selected positioning reference does not coincide with the design reference, there will be a reference non-coincidence error.
The second is the inaccurate manufacturing error of the positioning pair. The positioning elements on the fixture cannot be made absolutely accurate according to the basic size, and their actual size (or position) is allowed to vary within the tolerance range specified separately.
The workpiece positioning surface and the fixture positioning element together constitute the positioning pair. The maximum position change of the workpiece caused by the inaccurate manufacturing of the positioning pair and the matching gap between the positioning pairs is called the inaccurate manufacturing error of the positioning pair.
2. Adjustment error in machining of mechanical precision parts. In each process of machining mechanical precision parts, it is always necessary to adjust the process system in one way or another. Since the adjustment cannot be absolutely accurate, adjustment errors are generated. In the process system, the mutual position accuracy of the workpiece and the tool on the machine tool is guaranteed by adjusting the machine tool, tool, fixture or workpiece. When the original accuracy of the machine tool, tool, fixture and workpiece blank meets the process requirements without considering dynamic factors, the influence of the adjustment error plays a decisive role in the machining accuracy.


 Spanish
 Arabic
 French
 Portuguese
 Belarusian
 Japanese
 Russian
 Malay
Malay Icelandic
 Bulgarian
 Azerbaijani
 Estonian
 Irish
Irish Polish
 Persian
 Boolean
 Danish
 German
 Filipino
 Finnish
 Korean
 Dutch
Dutch Galician
 Catalan
 Czech
Czech Croatian
 Latin
Latin Latvian
 Romanian
 Maltese
 Macedonian
 Norwegian
 Swedish
 Serbian
 Slovak
 Slovenian
 Swahili
 Thai
Thai Turkish
 Welsh
Welsh Urdu
Urdu Ukrainian
 Greek
Greek Hungarian
 Italian
 Yiddish
 Indonesian
 Vietnamese
 Haitian Creole
 Spanish Basque

