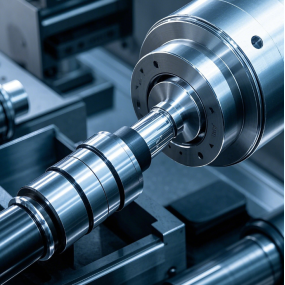
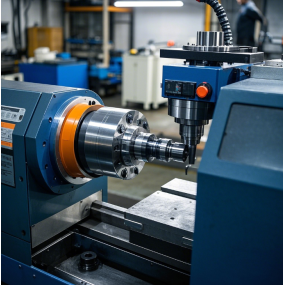
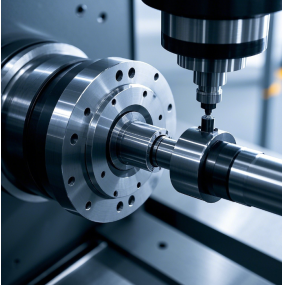
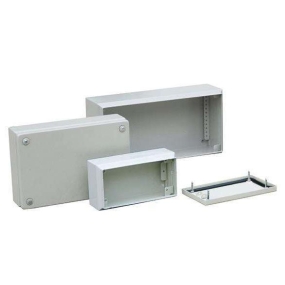
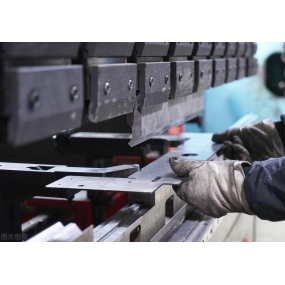
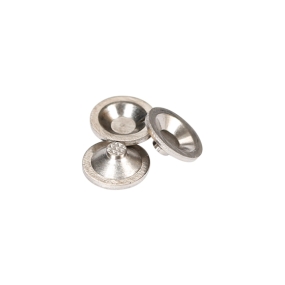
The processing accuracy of the rack is a key factor to ensure the performance and service life of the rack. Its requirements usually involve multiple aspects, including material selection, processing process control, and product inspection. The following are the specific requirements for the processing accuracy of the rack: 1. Material selection and inspection ① Material quality: Select aluminum profiles or other metal materials that meet the standards as the main materials of the rack to ensure that the quality of the material itself is reliable. ② Appearance inspection: Before processing, conduct an appearance inspection on the profiles to be processed to ensure that there are no scratches, corrosion and other defects to ensure that the appearance of the processed rack is tidy.  II. Processing process control ① Cutting accuracy: Cutting is the process of dividing raw materials according to the design size. For the aluminum profile frame, the cutting accuracy should ensure that the error is within 0.5mm to ensure the smooth progress of subsequent assembly and the stability of the overall structure. If there is a demand for corner cutting, the accuracy error of the angle should be controlled within 1 degree to ensure the flatness and accuracy of the corner cutting. ② Curvature and twist: The curvature and twist of the profile are also important factors affecting the processing accuracy. Generally speaking, the curvature of the profile (within each 300mm length) should be less than or equal to 0.3mm, the twist (within each meter length) should be less than or equal to 1mm, and the warping of one corner per meter length should be less than 1mm. These requirements help to ensure the straightness and overall flatness of the profile. ③ Tapping and punching: Tapping and punching are common steps in the processing of the rack, used to install screws or other fasteners. These operations should be carried out in strict accordance with the requirements of the processing drawings to ensure that the processing position, depth and size meet the requirements. ④ Select the appropriate specifications: Selecting the appropriate aluminum profile specifications for processing is also a manifestation of the processing accuracy of the rack. Profiles of different specifications represent different load-bearing capacity. Choosing the appropriate specifications can meet the load-bearing requirements of the rack and save costs. III. Product inspection ① Dimensional inspection: Conduct dimensional inspection on the processed rack to ensure that all dimensions meet the design requirements. ② Appearance inspection: Check whether the appearance of the rack is clean, free from scratches, corrosion and other defects. Functional inspection: Conduct functional inspection of the rack to ensure that it meets the requirements for use and has good stability and reliability.
Hello! Welcome to EMAR's website!
 English
 » »
» »
 Spanish
 Arabic
 Spanish Basque
 Portuguese
 Belarusian
 Japanese
 Russian
 Icelandic
 Bulgarian
 Azerbaijani
 Estonian
 Irish
Irish Polish
 Persian
 Boolean
 Danish
 German
 French
 Filipino
 Finnish
 Korean
 Dutch
Dutch Galician
 Catalan
 Czech
Czech Croatian
 Latin
Latin Latvian
 Romanian
 Maltese
 Malay
Malay Macedonian
 Norwegian
 Swedish
 Serbian
 Slovak
 Slovenian
 Swahili
 Thai
Thai Turkish
 Welsh
Welsh Urdu
Urdu Ukrainian
 Greek
Greek Hungarian
 Italian
 Yiddish
 Indonesian
 Vietnamese
 简体中文
简体中文 Haitian Creole


